In my discussions with musicians, I've noticed that many of them don't realize the work that goes into preparing their violin. That's why I wanted to produce this report, which will give you a better understanding of violin assembly and the various stages involved.
Here, I'll be talking about the journey a violin takes from the moment it enters my workshop to the moment it is handed over to the musician. This is also more or less the method I apply to all the instruments that pass through my workshop and those I sell online.

Understanding violin assembly
In this article, I'm not going to teach you all the skills and knowledge you need to build your own set-up. However, I will give you the keys to understanding all the operations that take place between the moment a violin enters my workshop and the moment it begins to express itself in the hands of the musician.
In this way, you'll realize the great importance of every single element that goes to make up the final sound, playability and appearance. And it's only by understanding them not individually, but as a whole, that you can appreciate the marvelous acoustic mechanism at work.
The assembly process
Assembly can be defined as the performance of a series of operations involving the installation of all the parts required for an instrument to function properly. A violin that is considered to be in good working order, in addition to its personal characteristics, must be :
- Easy to play on the strings, with good feel in the neck, fingerboard and saddle.
- Secondly, it must emit a pure sound, unimpeded by parasitic vibrations or muffling.
- What's more, the tuning must be simple and the holding stable, although this will also depend on the choice of strings.
- Finally, and almost most importantly, the sound potential must be developed to the maximum. This can only be achieved by using top-quality materials that are precisely arranged, worked and refined as much as possible. All of this is to enable the vibrations to express themselves to the full, offering a rich, powerful timbre.

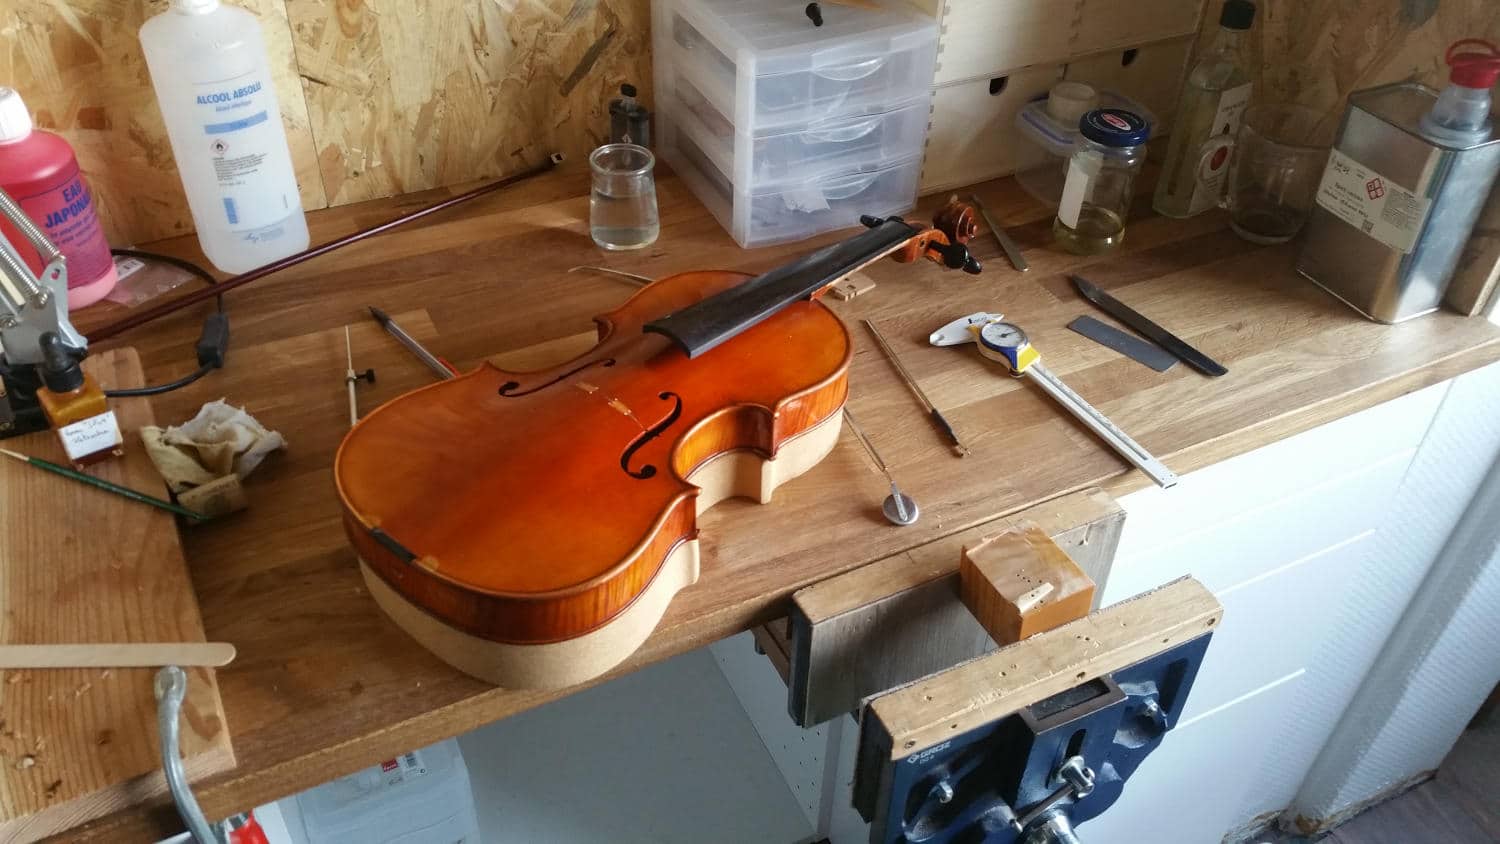
These goals can only be achieved with the rigor and precision that are the hallmarks of the luthier's work. I'm going to take you inside the workshop and show you step by step how I transform an assembly of wood into a real musical instrument.
Violin preparation
When a violin is received, it's important to check that everything is in the right place. Of course, whether it's a new or an old instrument, none of them is immune to slight defects that need to be ironed out. This is where you can :
- First of all, glue any joints that may have opened, as is often the case with joint bars. This is a routine operation, but it's worth making sure it's carried out as quickly as possible.
- Then any surface imperfections, such as pieces of cork stuck to the varnish, excess varnish in the gills or agglomerates, need to be removed.
- Of course, older instruments may require more extensive repairs. But I'm going to ignore this particular case and concentrate solely on assembling instruments in good condition.
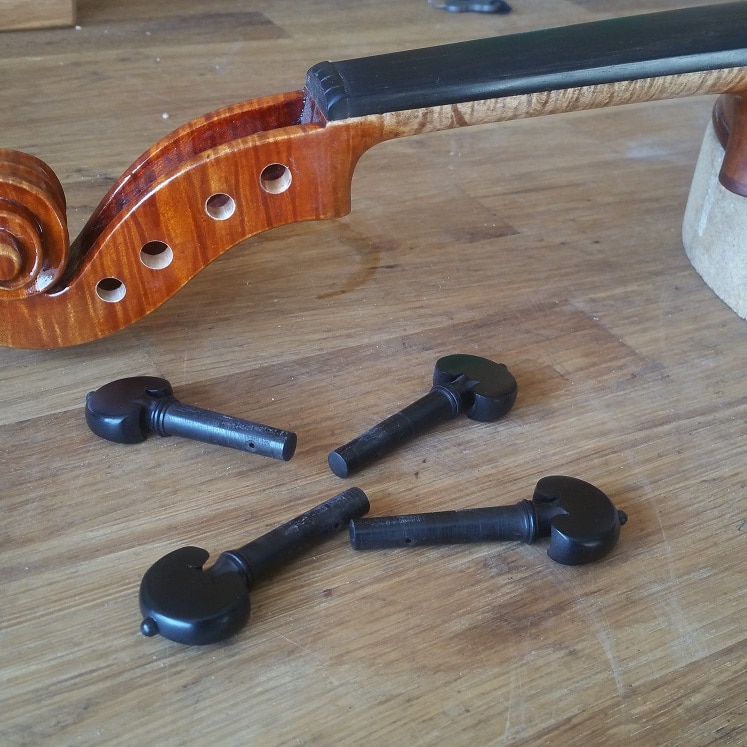

Ankles
First of all, check that the dowels are not deformed, then match them up correctly with the holes in the dowel block.
Boreholes are carefully drilled using a conical tool to clean the contact surfaces. Dowels must be positioned at a very precise distance from the wall.
Very important for musicians, ankles must adhere perfectly to the pegbox. But not too much either... It's finding that balance that can take time and practice.
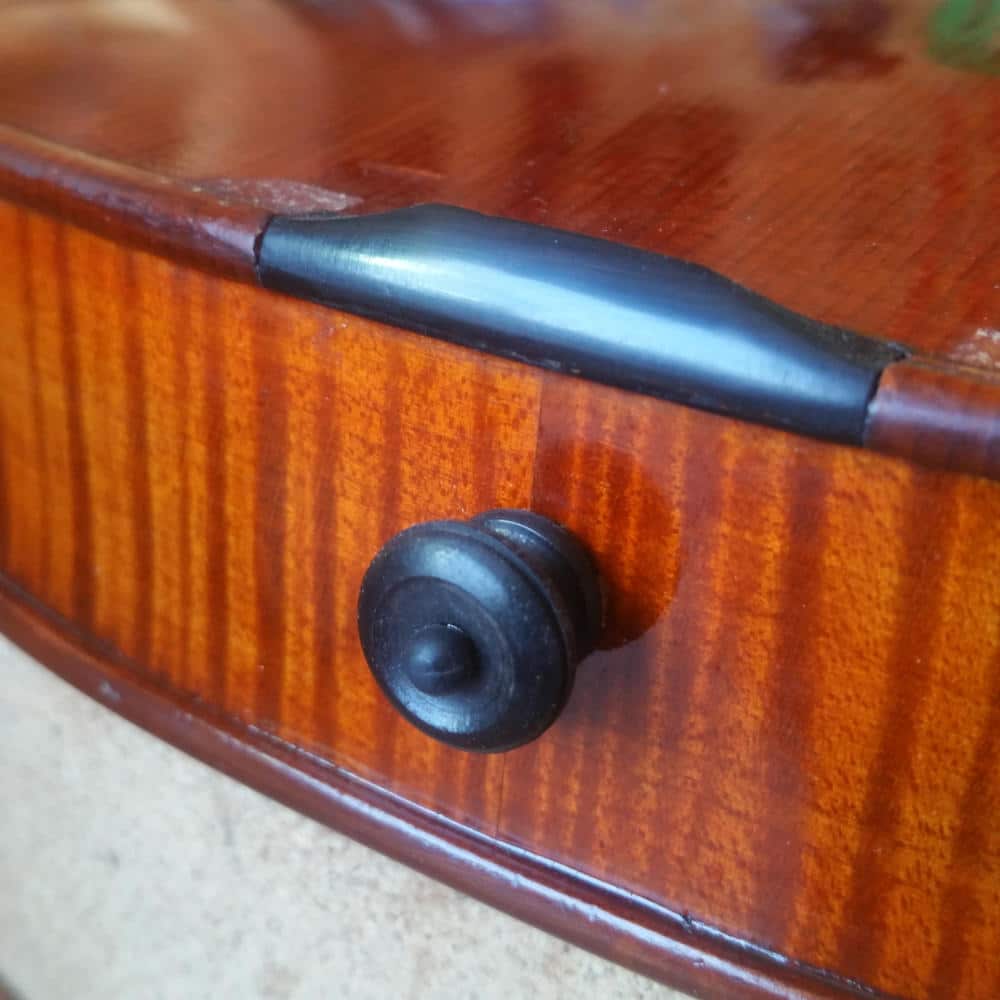
The button
The button must fit perfectly into its hole, deep down and without movement. It's also important to finish off the inside and not leave an unsightly end, even if it's not visible from the outside.
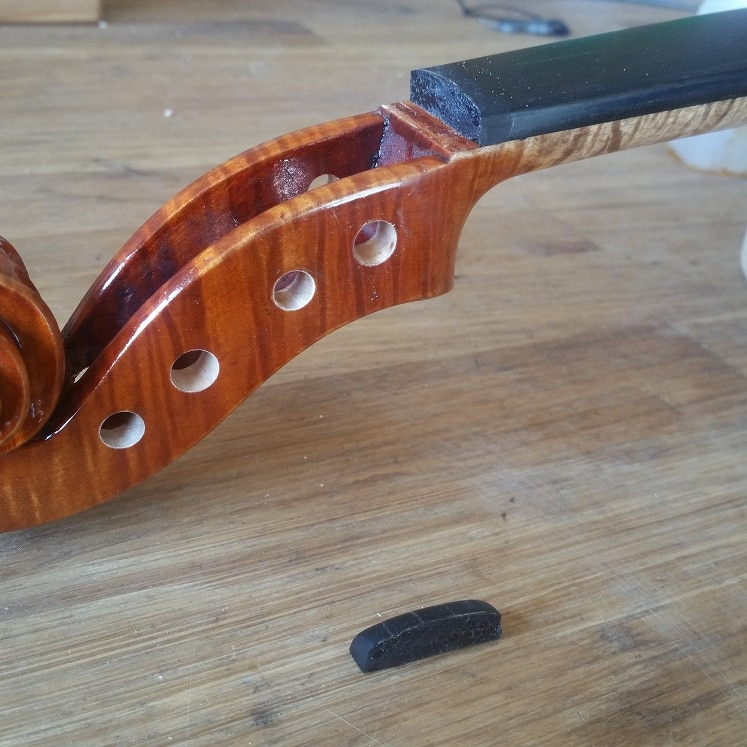
The bottom saddle
To finish preparing the instrument, it's important not to forget the saddle. It is not uncommon to find that this has been neglected by over-hasty craftsmen.
Although the fact that it's ugly doesn't really matter, especially as it's often hidden under a chinrest. It does, however, have a significant impact on string tension and therefore on the final sound.
That's why it's important to control its height and shape, and to shape it harmoniously. If only to give it the credit it deserves.
The key
The fingerboard is first and foremost a crucial part of a violin's playability and comfort. It's also where the fingers move nimbly, aiming for ever more accurate and expressive notes. That's why this dance floor must be flawless, and in no way hinder the mobility of the strings, which would impair the purity of the sound.
First of all, the fingerboard is generally made from a species sensitive to humidity(ebony), and has a relatively complex shape. As a result, even if it has once been precisely shaped, a simple trip exposed to the elements can deform its surface.
A number of factors need to be taken into account
- Firstly, the projection of the fingerboard on the soundboard determines the final height of the bridge, and therefore the tension exerted by the strings on the instrument. Deviating too far from the standard measurement will cause serious sound problems. It is not really possible to correct this measurement significantly by reshaping the fingerboard surface, but it is important to keep it in mind and, above all, to check it.
- Deuxièmement, il est important de vérifier que la touche ait une bonne « poiriette » (ou n’en possède pas). Il s’agit en fait de la bascule de la touche qui permet de compenser la différence de diamètre des cordes et d’écarter les coups d’archet du « C ».
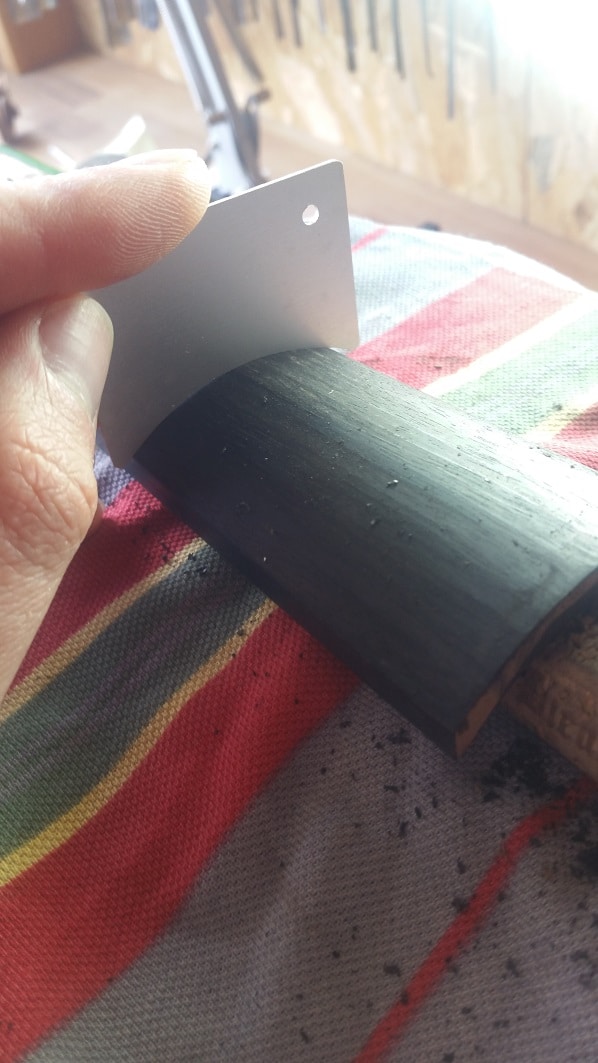
- The upper curve must match the curve that will end up on the bridge. That's why there are templates to ensure that these shapes match. A fingerboard is not a tube, and I'd even go so far as to say that the curve values must evolve along the entire length of the fingerboard: rounder towards the saddle and flatter towards the bridge.
Checking and correcting the handle
Sometimes, the neck is not the right shape. It may be bumpy or simply too thick, and it may not be level with the fingerboard, which can be unpleasant in the hand. For this reason, it may be worth correcting it before dealing with the fingerboard. Then come back later to make the neck, fingerboard and nut one.
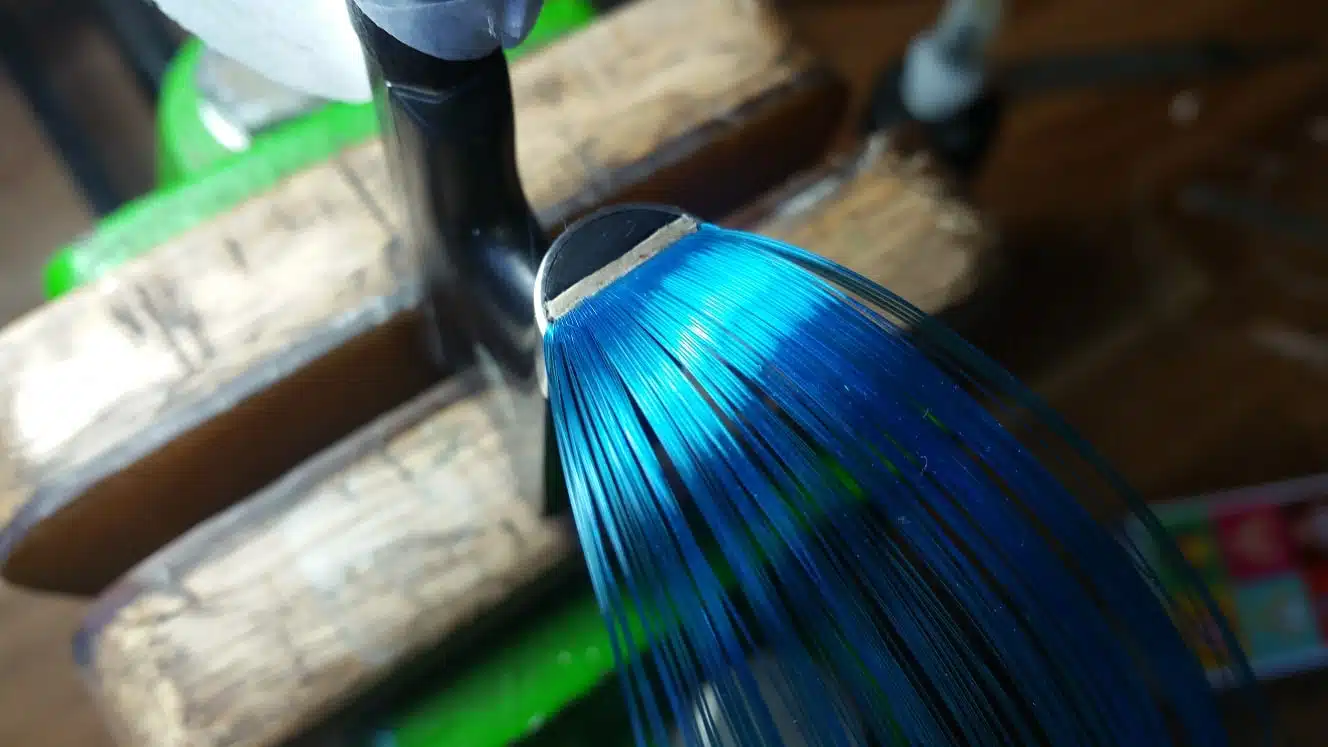
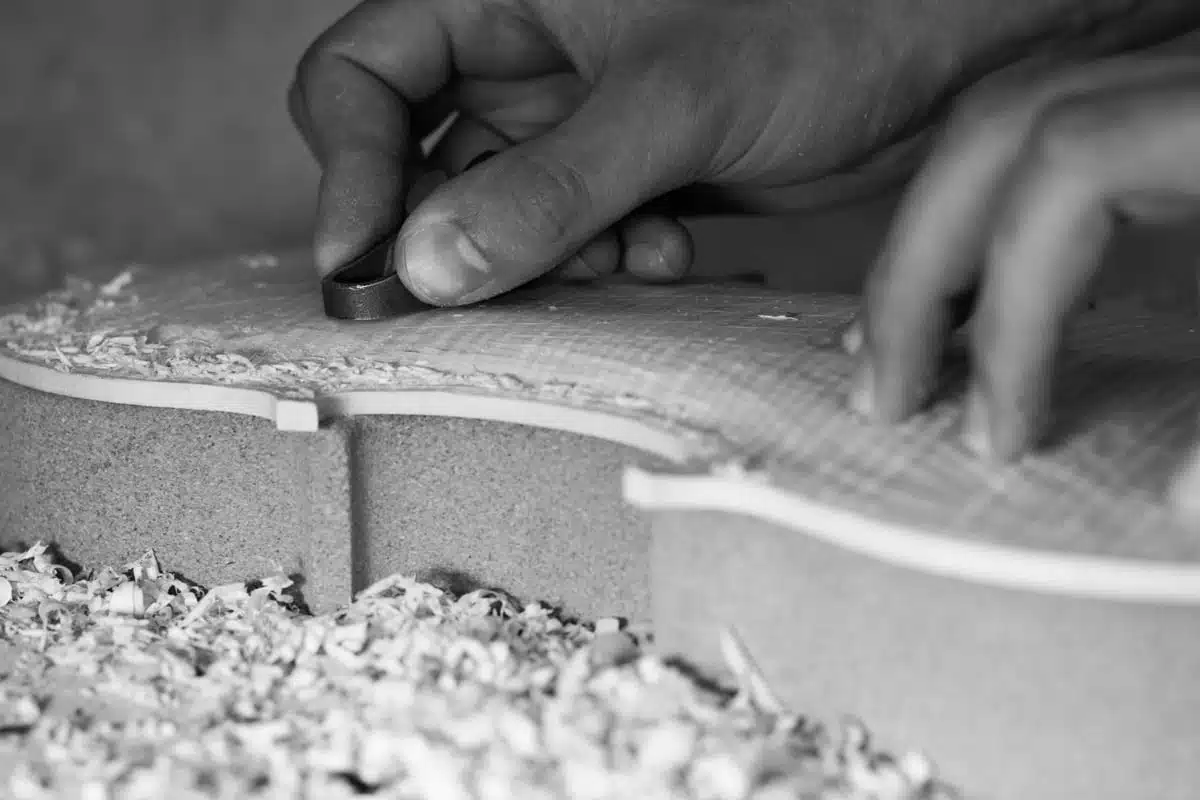
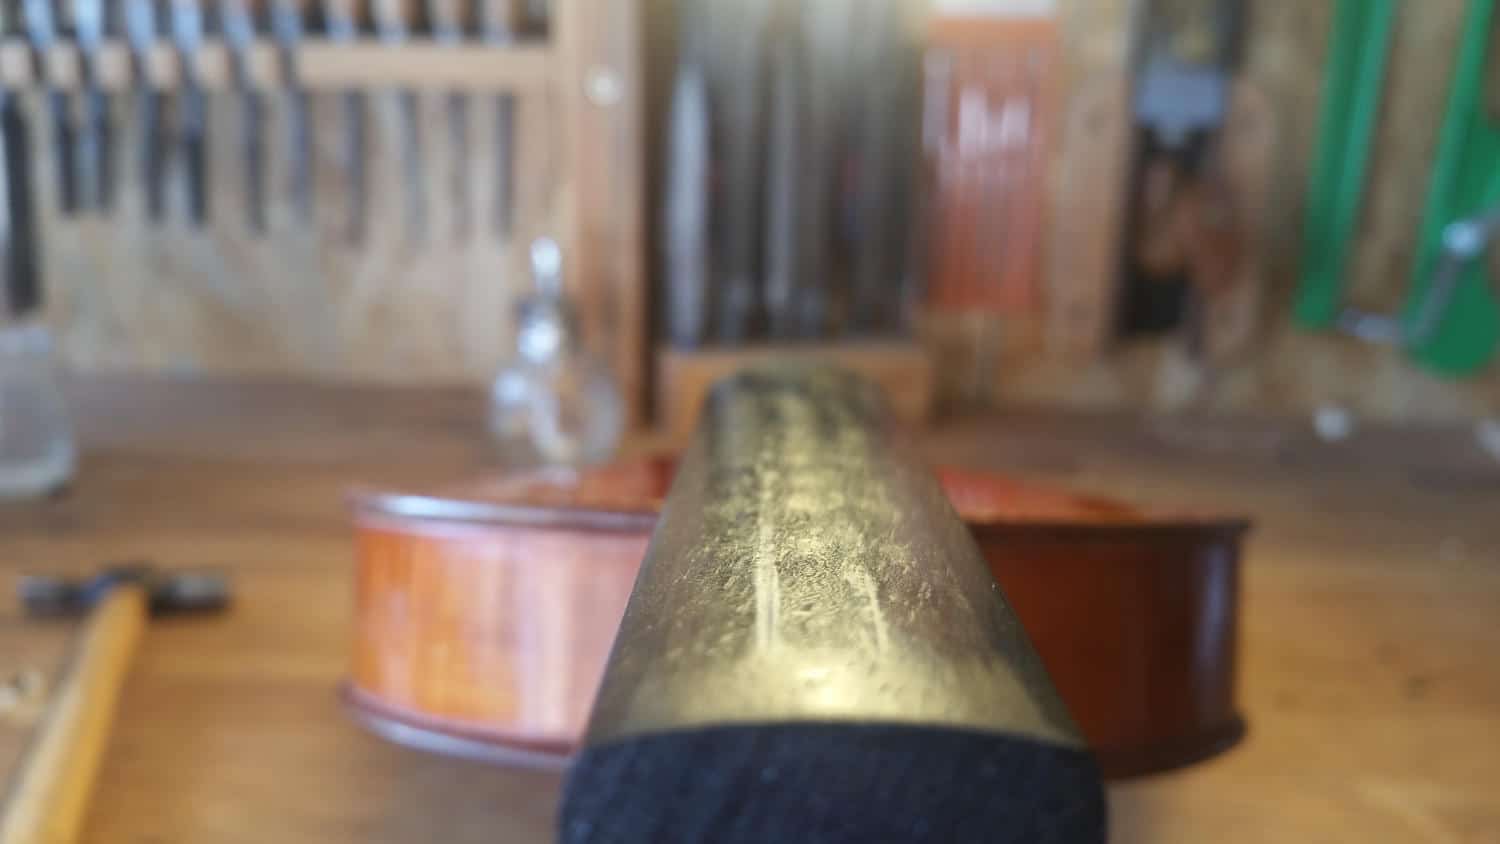
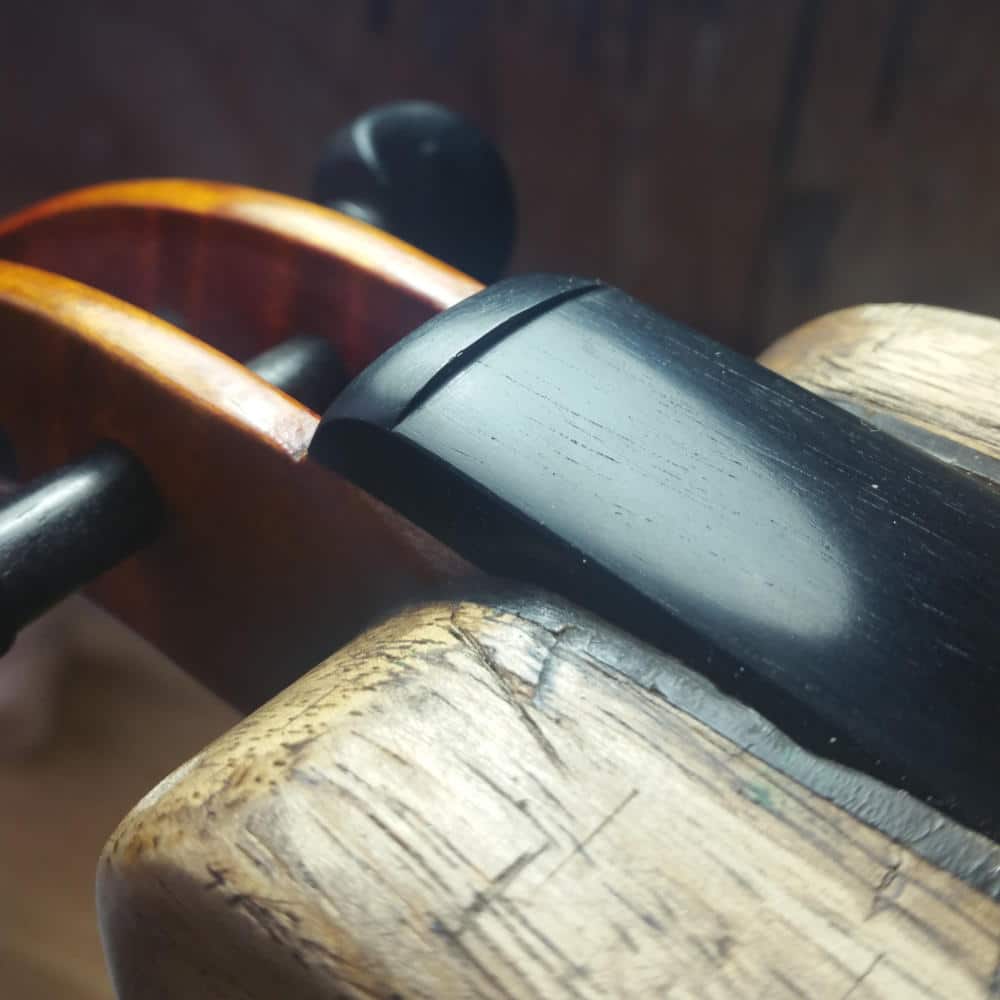
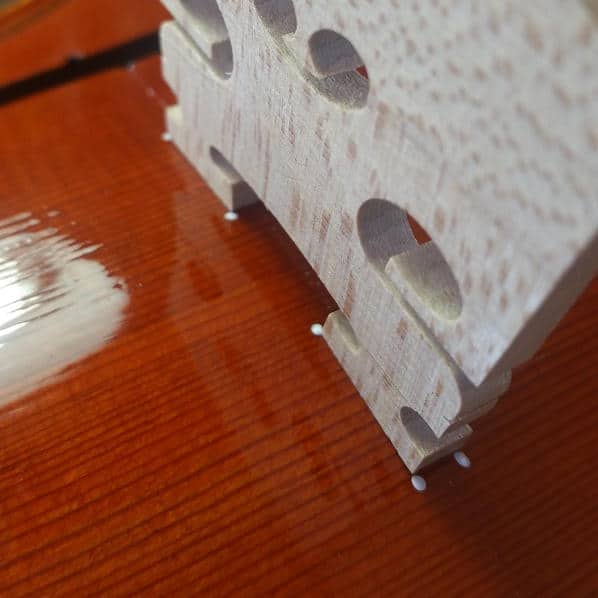
Formatting the
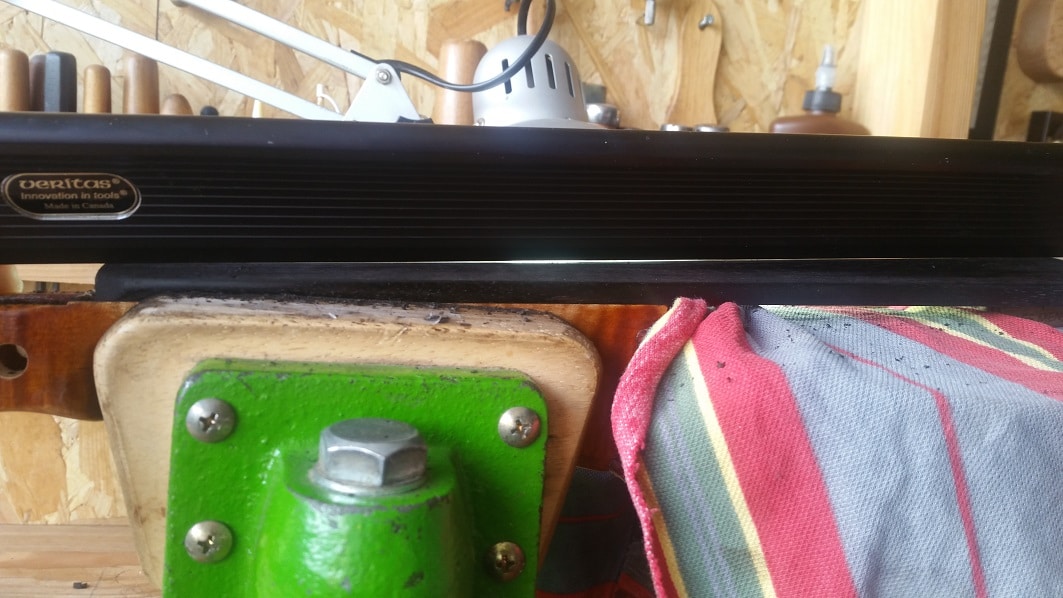
The palm plane is primarily used to shape the fingerboard. It is the easiest way to control the various parameters of interest.
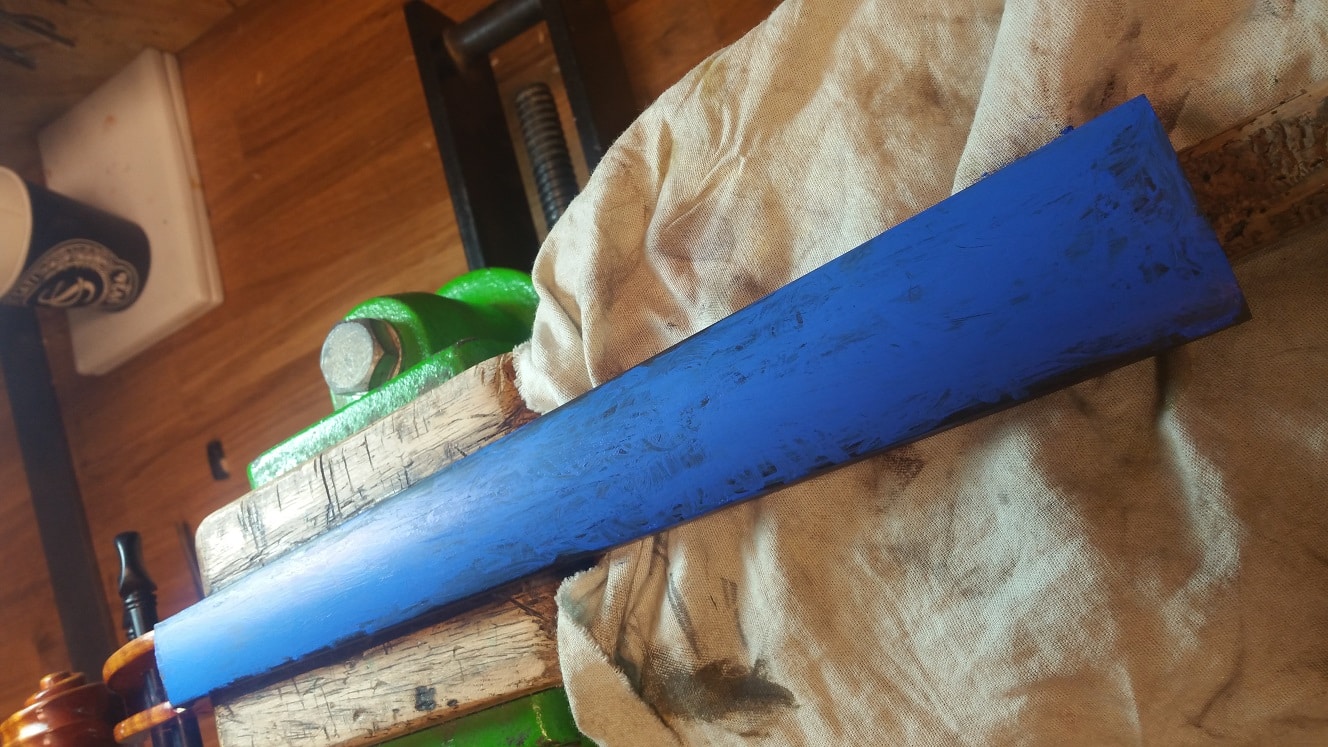
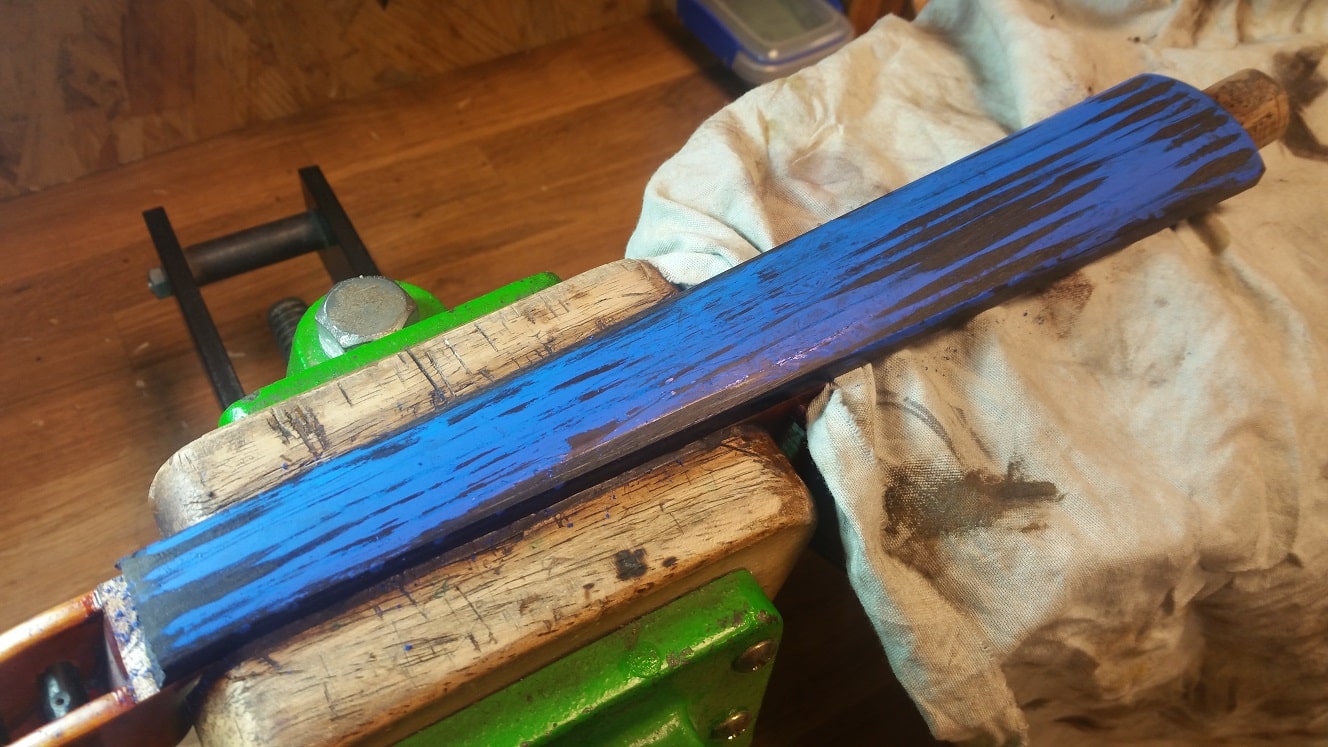
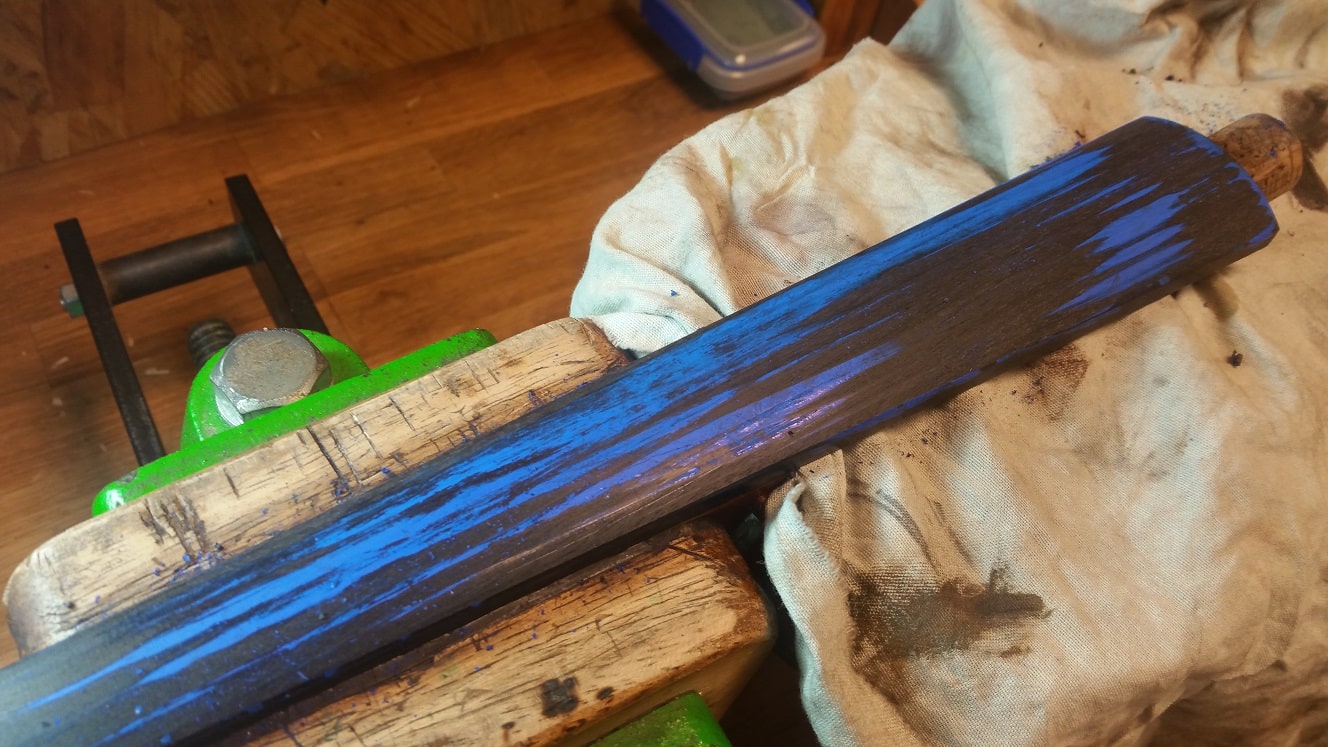
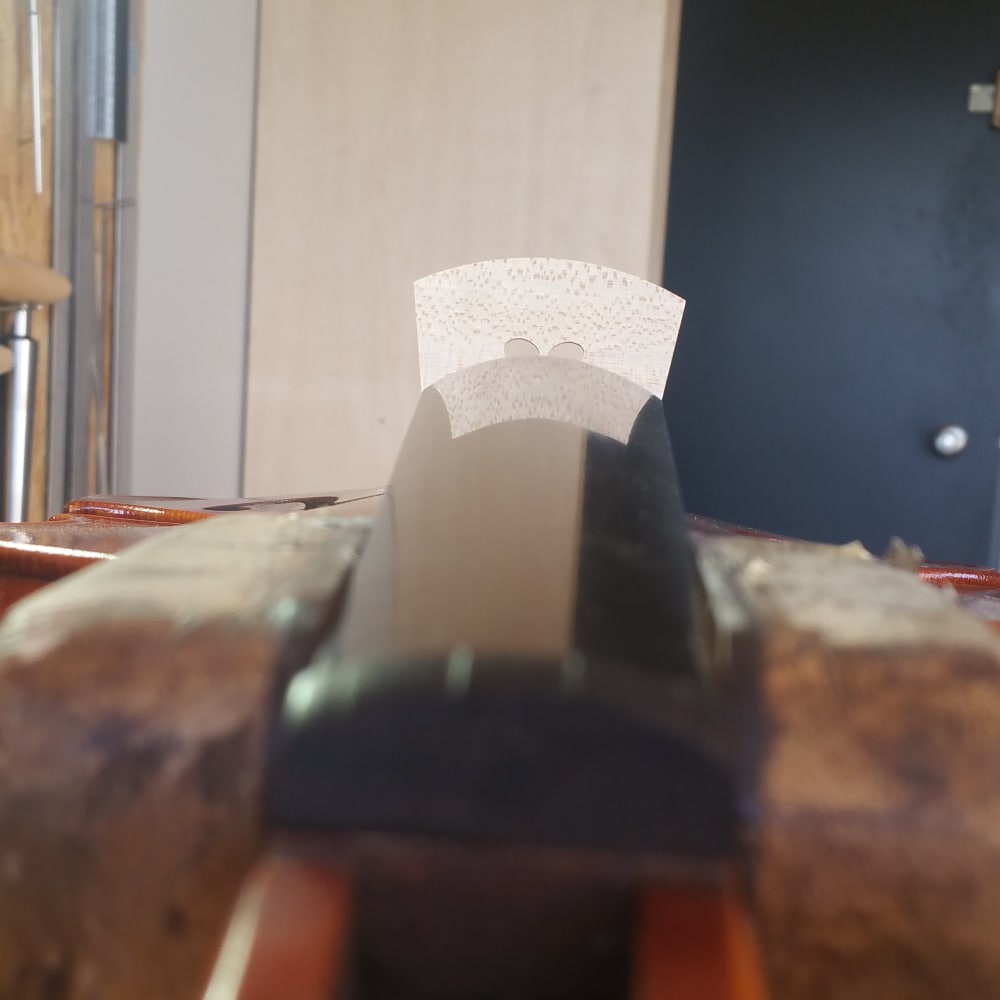
In the photographs above, I first painted the surface of the fingerboard blue. This is not something I usually do, but only when taking these photos. It actually makes the hollows and bumps that appear under the planer's passes more obvious.
As you can see, a relatively large convex surface appears on the upper part of the fingerboard. This must be removed to allow the strings to vibrate unhindered.
As you can see, there are many parameters to take into account for a successful fingerboard. First and foremost, it must enable the right notes to be reached without creating interference with the string. In addition, it must allow good playability and comfort of execution. Finally, the shape must take into account the future curve of the bridge.
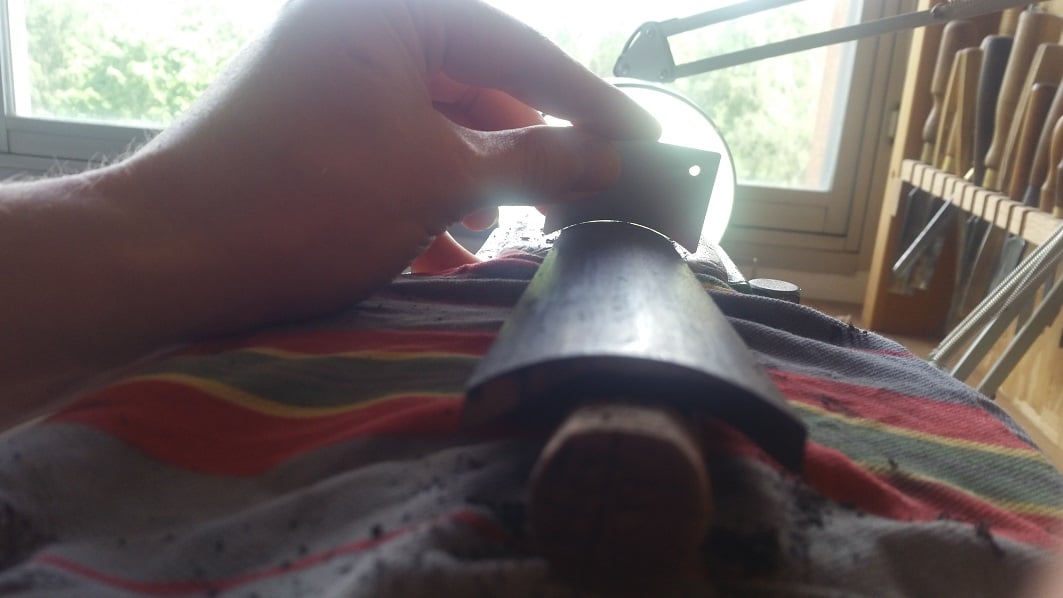
Polishing the fingerboard
Once the final shape of the fingerboard has been achieved, the surface needs to be polished. Indeed, even if it may not change much mechanically. It's always more comfortable(and aesthetically pleasing) to have a nice, polished fingerboard. What's more, having a near-mirror surface offers, in my opinion, greater durability.

To achieve this result, I use a dozen different abrasives. The first is aggressive enough to get rid of all the facets left by the planer, then finesse is achieved little by little. Finally, I use a very fine powdered mineral abrasive that not only clogs the wood's pores, but also achieves a mirror-like polish.
Saddle shaping and finishing
The main purpose of the saddle is to space the strings, raise them above the fingerboard and guide them into the pegbox. This is an important part that must not be neglected. It will affect not only the comfort and response of the strings in the first positions. The smoothness of its curves will also influence the life of your strings.
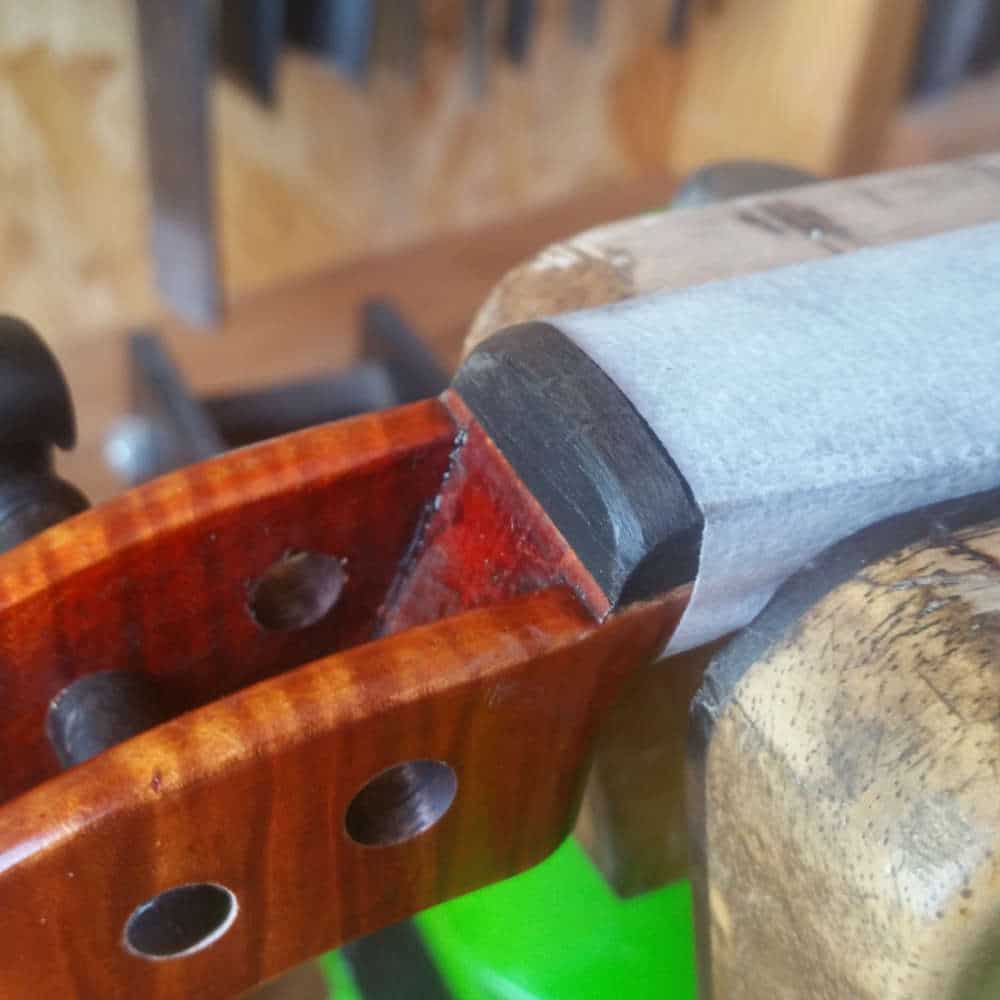
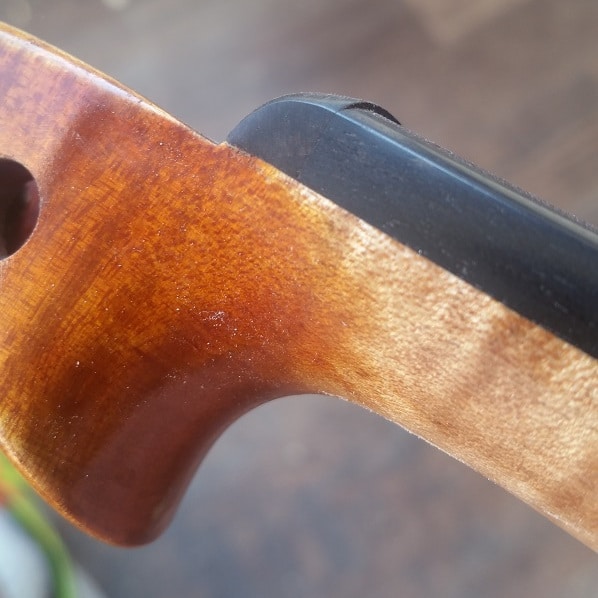
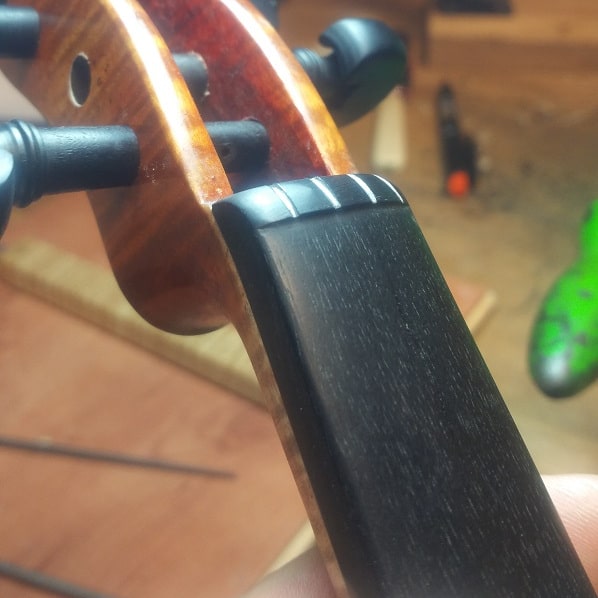
As I mentioned earlier, the saddle, fingerboard and neck must be one and the same to provide the best possible comfort. This is a point that is particularly close to my heart. In the end, the fingers must feel no hindrance, no potential catch, no stop, the fingerboard must be a real highway.
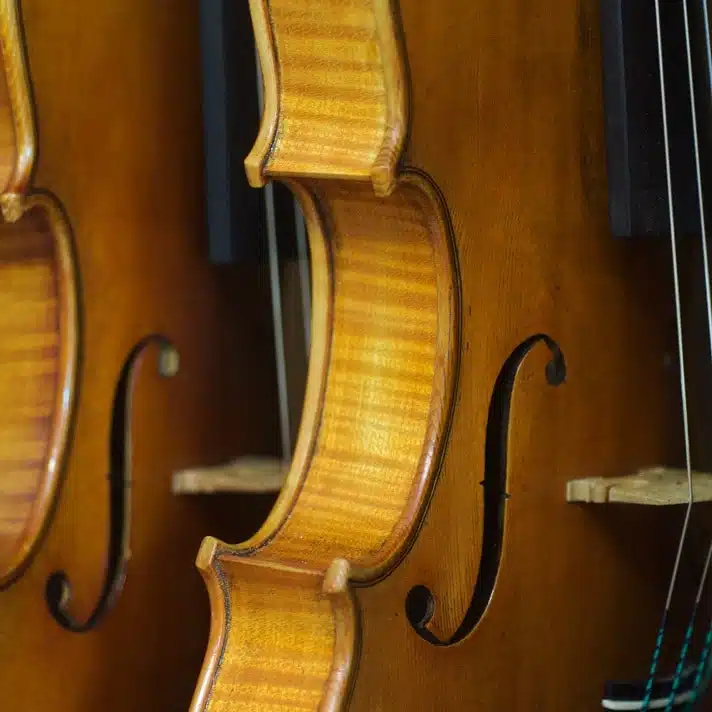
If you compare the photos above with your current violin, what differences do you notice?
The soul and bridge of a violin
The fingerboard, neck and saddle need to be carefully shaped to provide good playing comfort. However, they don't really have a direct impact on the sound of the instrument(not that they don't). As for the core and bridge, we're getting to the heart of the matter when it comes to sound creation and control. This is why the shaping of these two little pieces of wood is of the utmost importance. It' s also a time-consuming process, requiring the utmost attention to detail.
The position of the soul and the easel
In fact, the position of the soundpost and bridge are intimately linked. This is why these two elements are inseparable and must be considered together to truly understand violin building.
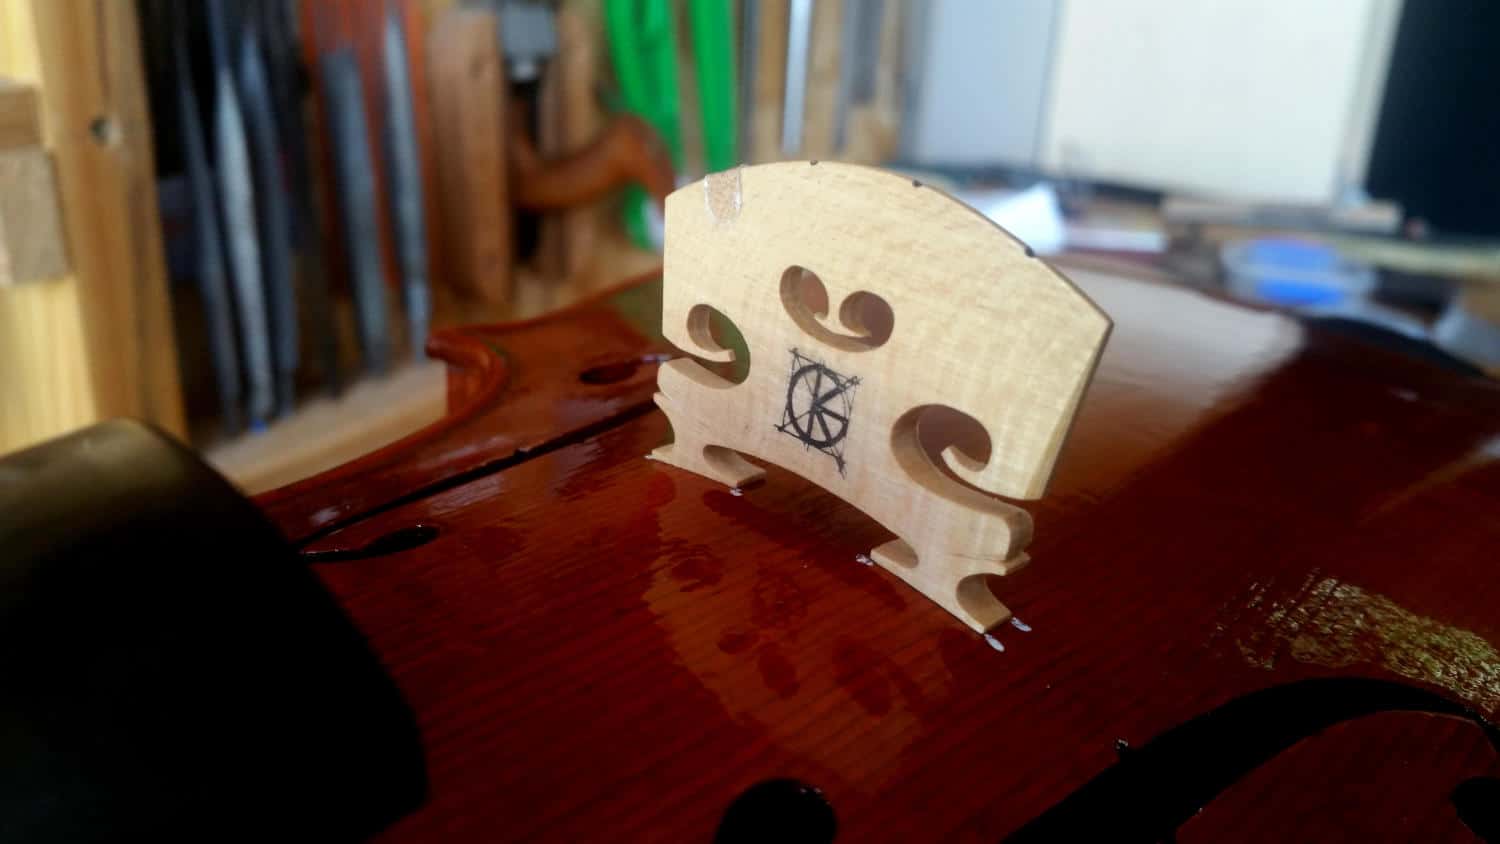
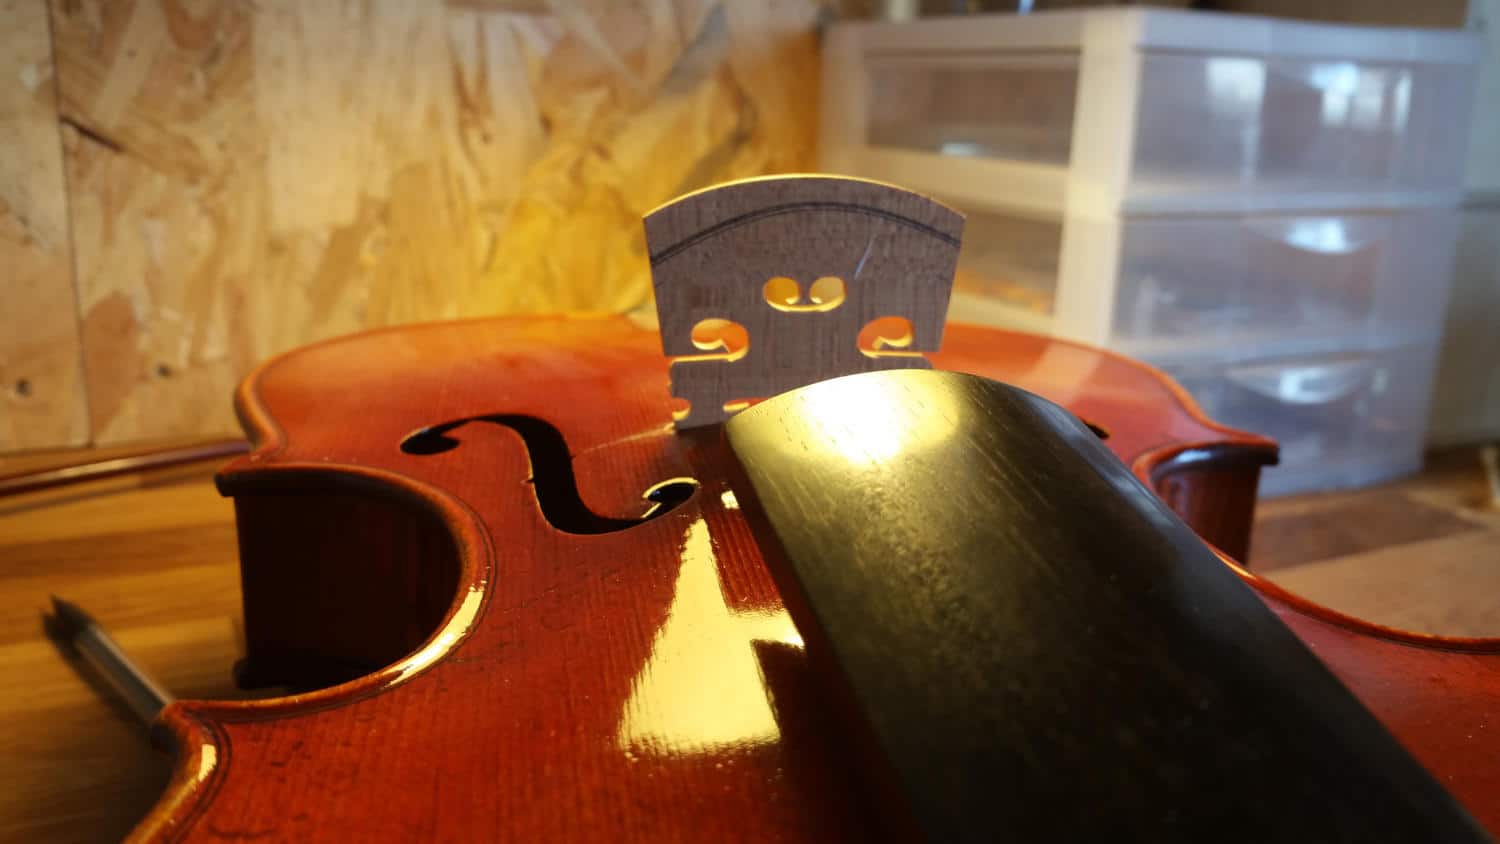
First, I assess the exact position of the bridge. This must take into account :
- First, the vibrating length of the strings. If the violin is well built, the bridge is placed at the center of the imaginary line drawn between the notches of the soundholes.
- Next, alignment with the fingerboard, with the bridge ideally in line with it.
- It must also be well positioned in relation to the soundbar, which is normally located under the foot on the low side of the instrument.
- Finally, you have to make sure that all these elements fit together, and if necessary, make compromises.
Once I'm happy with the position of my bridge, I mark exactly where it's going to be. This will be very important for the rest of the assembly.
Once the final position of the bridge has been identified, it can be left aside and it's time to move on. In fact, in a fairly standard way, the core is positioned at a very precise point behind the treble foot, a few millimeters back and inside. This will provide a starting point for more precise adjustments later on.
The size of the soul
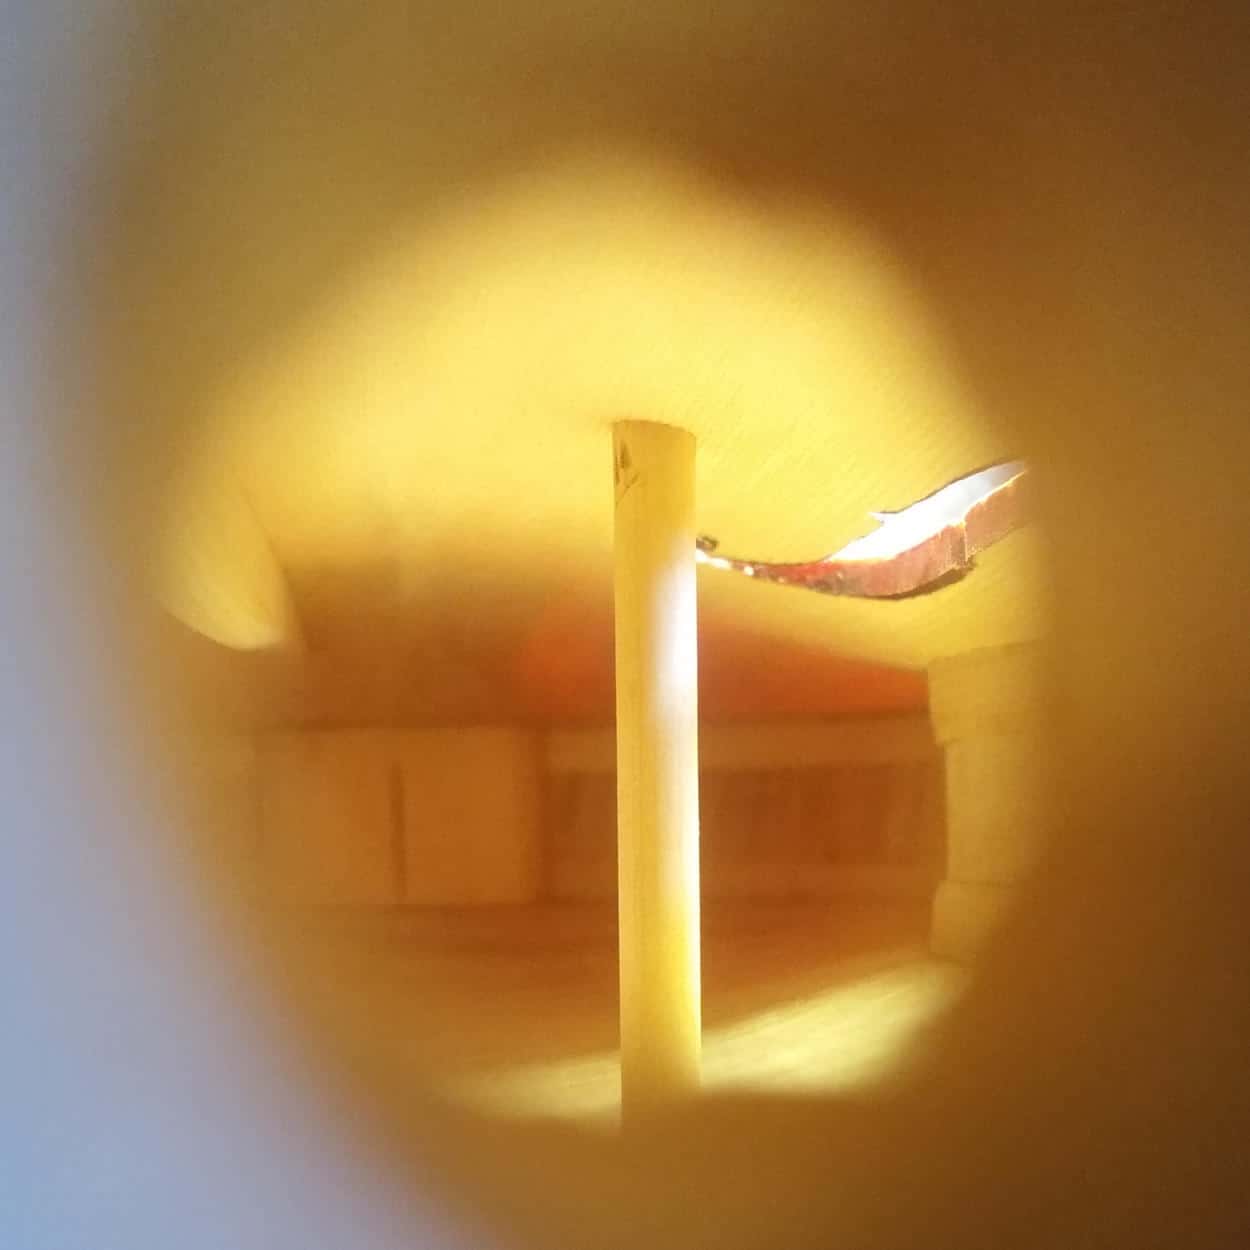
The great difficulty with the core is that it has to be perfectly adjusted, to within a tenth of a millimeter, in a very inaccessible part of the instrument: the resonance box.
The only way to reach it is through the violin's soundholes. To do this, there are tools specially designed for the task: soul points.
But before installation, you need to choose the wood that will perfectly fulfill the core function. Personally, I'm only satisfied with split spruce rods specially selected to transmit vibrations.
The first step is to find out the approximate size of the core by measuring the inside of the instrument or by using previously used cores. Then it's a matter of trial and error, moving step by step towards the ideal position, tension and angle.
It's really important that the surfaces of both the table and the back are in perfect contact. Not only will the core be more stable, it will also fulfill its role perfectly, that of supporting the arch and transmitting the vibration.
Bridge size
I don't intend to give you a complete tutorial on how to make a bridge. I do, however, want to help you understand how to assemble a violin, and in particular how to assemble the bridge.
- Firstly, the bridge feet must be in perfect contact with the surface of the violin. They will also determine the angle at which the bridge rests, which must be visually close to the right angle to the soundboard.
- Once these are complete, the upper curve of the bridge must be designed and then cut to size according to the projection of the fingerboard. This is how the string height is defined.
- Once the upper and lower parts of the bridge are in place, it's time to finish the thickness. In fact, this involves sculpting a slight curve on the front face(fingerboard side) while refining as much as possible the side that will receive the strings.
- The trestle could probably be used at this point, as it would work mechanically. However, there's still a lot of finishing work to be done. These will not only work on the sound, but also on the aesthetic character of the bridge.
- Finally, the string passages are measured and filed. Personally, I then use a piece of parchment to support the E string, and lubricate the contact points with a 9B graphite pencil.
As with the core, bridge selection is very important. Not only do you need a flawless wood with perfectly straight fibers, but its density will also have a significant impact on the final result. Of course, all the steps I've outlined above are also crucial to the result.
Assemble tailpiece and ropes
Once all the above elements have been completed, all that remains is to install the ropes. However, the tailpiece and any adjusters must also be taken into account. As I've already published a complete dossier on this fascinating piece in the past. I suggest you continue your reading with this article, which provides a precise summary of tailpiece installation.
[blog_posts items= »1″ orderby= »date » ids= »9492″]
Understanding violin set-up and adjustment
We're nearing the end of the instrument assembly. However, fine-tuning can take some time, sometimes involving complete disassembly and reassembly. We need to make sure that everything is in place and working properly.
What's more, it's best to leave the instrument under tension for a while before working out the final details. In fact, given the impressive tension of the strings, the wood will undoubtedly undergo some movement. That's why you'll need to wait a while after initial tuning before fine-tuning.
Finally, when there's no longer any reason to handle the violin, it's time for the final polishing and cleaning.
Understanding violin assembly and the time involved
In fact, the reason I wanted to share with you the complete editing process is to give you a better understanding of what's involved. It can take a full day, or even longer, to complete a good edit. At least from a professional point of view. It's also possible to make compromises and drastically reduce this time. It's possible to cut back to the essentials and reduce editing quality in favor of production speed. This is what you'll find on the most affordable violins.
Mounting violas and cellos
Violas and cellos are mounted in a very similar way to violins. The main difference, of course, is size.
Understanding violin assembly during a workshop
Maybe you've always wanted to learn how to make a real assembly on a violin. Even if you've studied violin making at one of the top schools, you may still lack experience. It's true that this is a subject that doesn't really come up in these schools. Yet it's the basic skill required in a lutherie workshop. That's why understanding how to assemble a violin, viola or cello is essential to finding a job.
C’est en comprenant les besoins des stagiaires que j’ai pu recevoir dans mon atelier que j’ai décidé de créer des formations spéciales sur le montage des instruments. Je vous invite donc à me contacter pour en savoir plus sur la formation « comprendre le montage d’un violon ».