Voici un tutoriel très simple pour vous montrer comment transformer une corde à boule en boucle de la manière la plus simple. Cette opération pourrait vous servir si jamais vous deviez adapter vous-même un ajusteur fin à l’anglaise pour votre cordier.
Comment transformer une corde à boule en boucle
En fait, toutes les cordes possèdent déjà une boucle (loop en anglais), cependant, certaines d’entres elles sont déjà occupées par une boule. Ce que l’on appelle une boule (ball en anglais) est en fait un anneau en métal qui permet un maintient parfait de la corde une fois mise en place dans le cordier. Celle-ci remplace le traditionnel nœud simple que l’on trouve encore sur les cordes en boyau.
La conversion est très simple : il suffit de se débarrasser de cet anneau en métal. Seulement, il sera impossible de le sortir à la main, c’est pour ça que je vais vous expliquer comment procéder.
Évidemment, vous pouvez directement acheter un jeu de corde dont la terminaison est à boucle !
Casser l’anneau
L’opération principale sera de briser cet anneau. Néanmoins, il faudra le faire sans abîmer la boucle. On doit en effet souvent réaliser cette opération sur une chanterelle de violon, très fine et fragile. Si la boucle rompt, la corde entière serait bonne à jeter à la poubelle. Voilà pourquoi il est plutôt important de prendre quelques précautions.
Toutefois, inutile de s’en faire : on se sert de l’anneau pour réaliser cette opération en douceur !
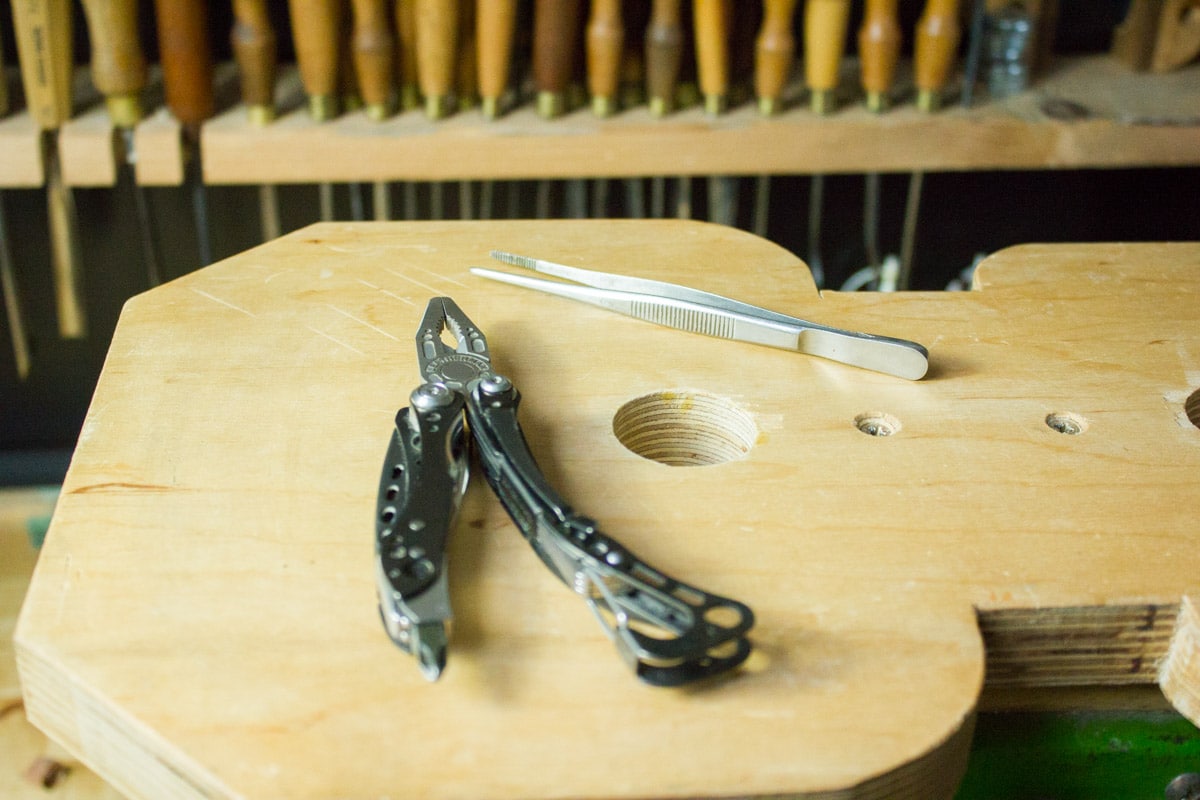
Les outils nécessaires
- Une pince plate ou pince multi-fonctions pour maintenir l’anneau et le casser
- Pince à épiler pour donner de la précisions aux gros doigts (comme moi!)
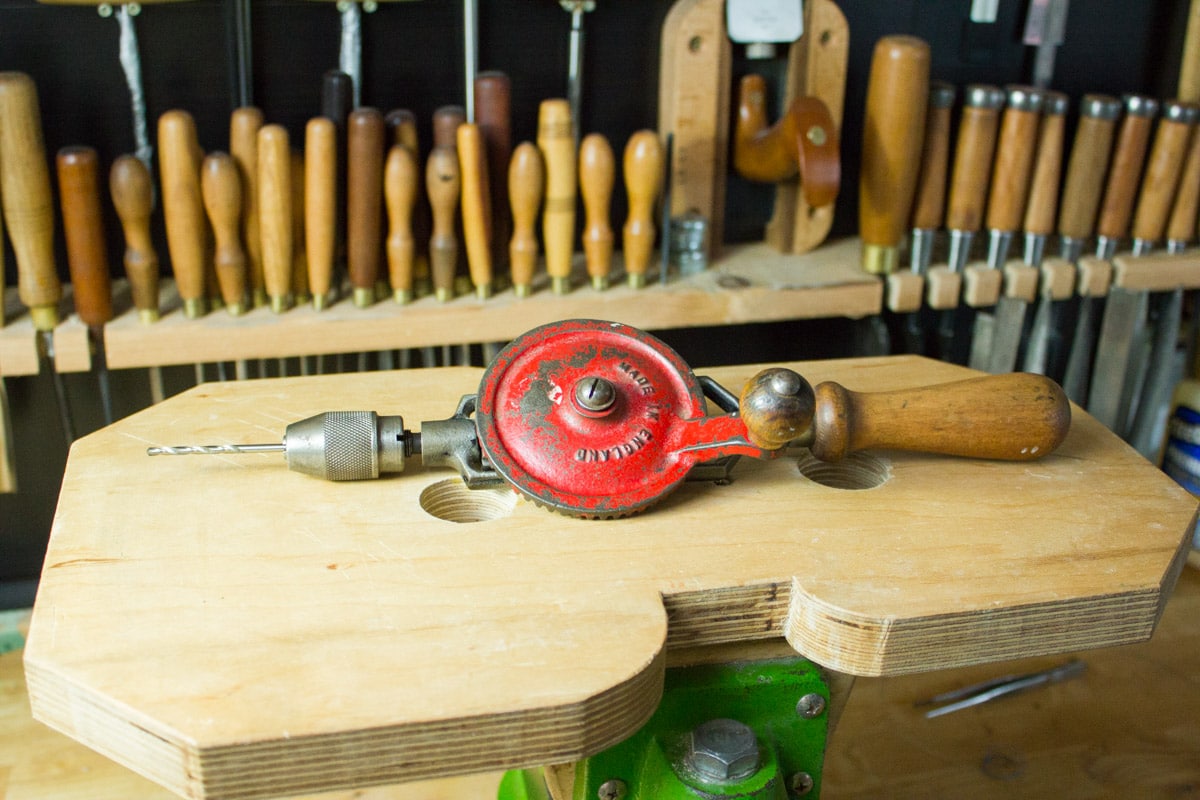
- En option, une perceuse électrique ou une chignole (perceuse manuelle) avec de petites mèches (entre 2mm et 3mm)
Le déroulement des opérations
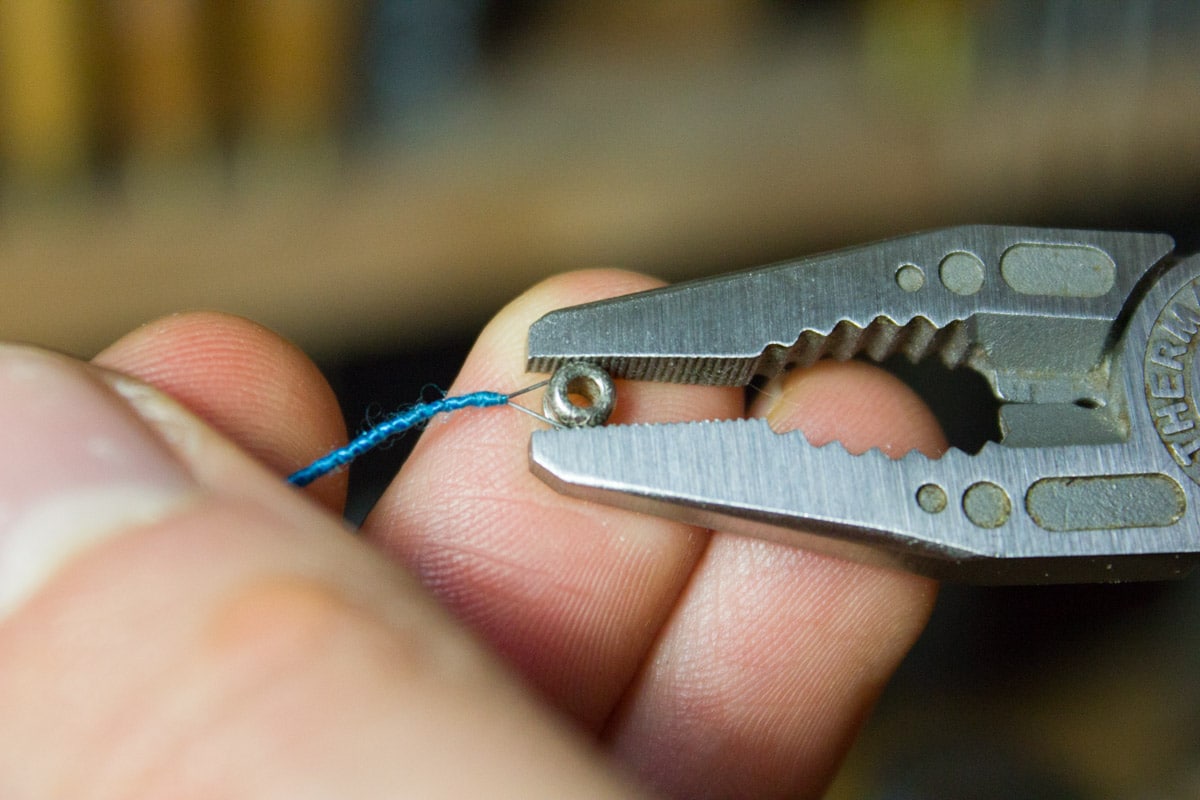
Tout d’abord, tenez la corde fermement et placez l’anneau dans la longueur de la pince. Appuyez fortement et voilà ! Si la boule est assez fragile, elle aura tout simplement rompu.
Mais que faire si elle ne veut pas se briser ?

Rien ne s’est passé ! Que faire ?
Dans la majorité des cas, l’anneau ne se brisera pas aussi facilement car il est trop résistant ou la pince ne permet pas d’appliquer assez de force (ce qui est souvent le cas avec des petites pinces comme celle que j’utilise sur la photo). C’est pourquoi il faudra l’aider un peu en fragilisant sa structure. Pour se faire, il suffit de percer délicatement à travers le trou déjà présent au centre de l’anneau.
Suivant la marque de la corde, ce trou pourra être plus ou moins large, mais il mesure généralement aux alentours de 2mm. Il faudra alors choisir une mèche un peu plus large pour agrandir la perce d’origine. Un foret de 2,5mm ou 3mm est assez simple à trouver et devrait faire l’affaire mais attention de ne pas prendre un diamètre trop important car cela pourrait endommager la corde.
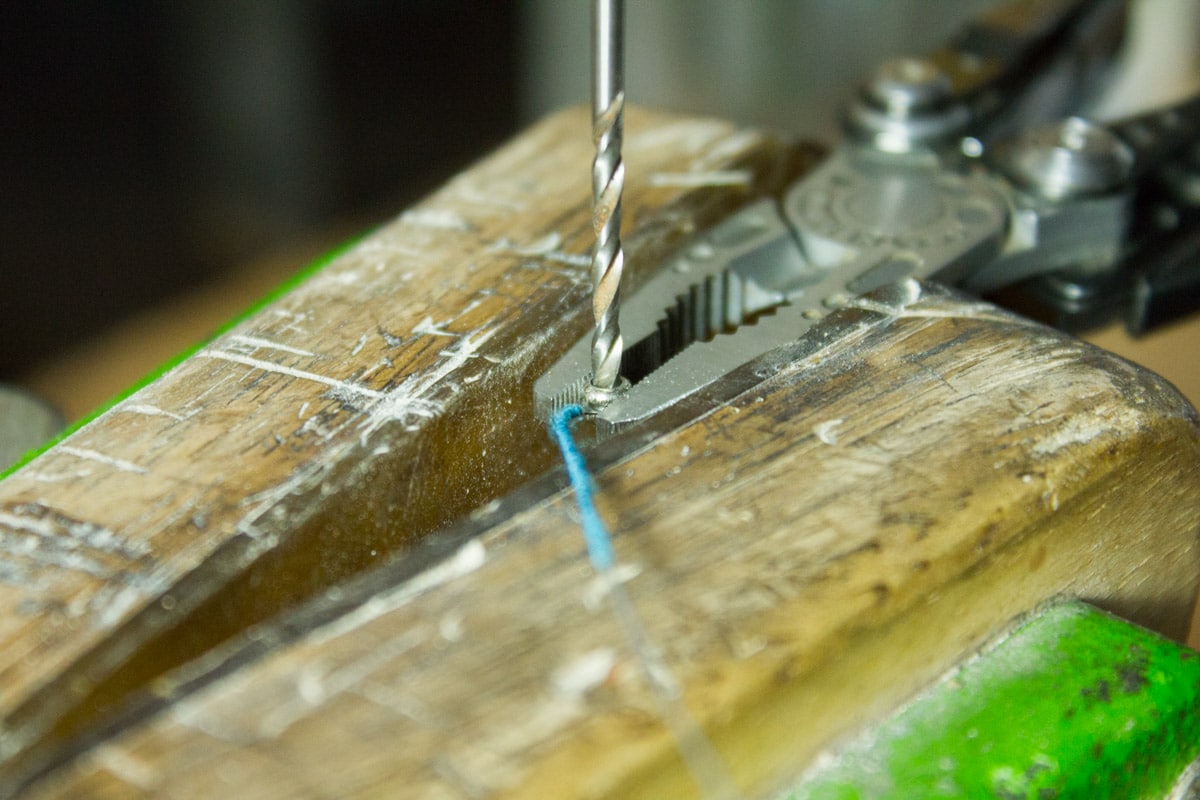
Dans l’illustration, j’utilise une chignole, c’est pour cela que je dois coincer la pince dans un étau pour empêcher l’anneau de glisser lorsque je perce. Cependant, cette opération peut être réalisée à deux mains lorsque l’on possède une perceuse électrique.
Une fois percé, il suffit de reprendre la première étape pour briser la boule. Si ça ne suffit toujours pas, il suffit d’agrandir encore un peu la taille de la mèche. Ensuite, répéter l’opération jusqu’à ce que ça rompe sans trop forcer.
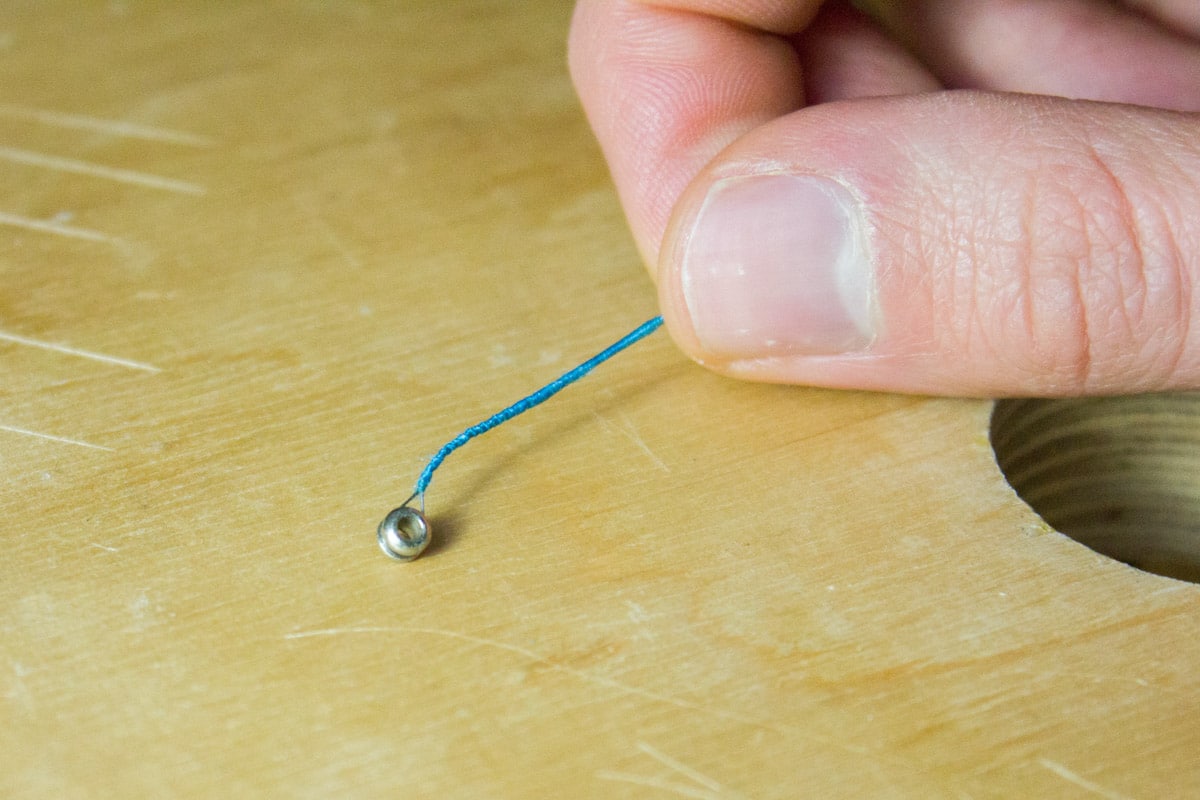
Dégager les débris de la boucle
Pour finir de transformer une corde à boule en boucle, il faut encore dégager les débris de l’anneau. Cela peut paraître simple mais en essayant de les sortir sans la bonne technique, on peut avoir tendance à s’arracher les cheveux.
La technique la plus efficace consiste à appuyer l’extrémité de la boucle contre une surface dure (comme la pince ou à plat sur un table). Ainsi, le losange très aplati que forme la corde va prendre la forme d’un cercle et laisser tomber les débris un par un. Une pince à épiler peut-être utile pour jouer avec les morceaux de métal et les aider à sortir.

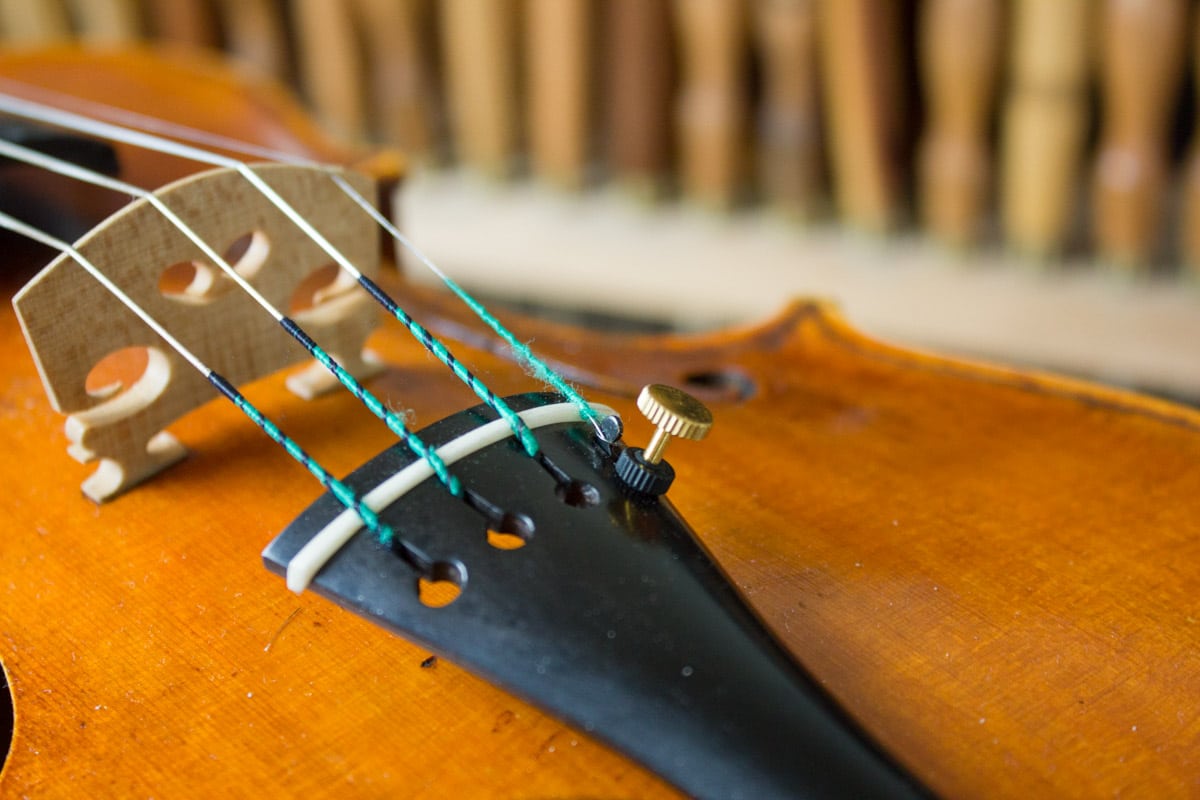
Installation de la corde
Après avoir réussi avec succès à transformer une corde à boule en boucle. Il ne reste plus qu’à la mettre en place.
C’est une opération assez simple mais j’ai néanmoins une recommandation à vous faire pour augmenter la longévité de la boucle. Vous pouvez installer un protège-boucles spécialement fabriqué par Wittner pour augmenter la durée de vie de vos cordes à boucles ! C’est la solution la plus simple pour éviter toute rupture prématurée de la fine corde de métal.


Bonjour
Quelle est la marque de la cordes que vous avez utilisé sur les photos avec le filetage bleu
Cdt
Ce sont des cordes chinoises sans marque il me semble.