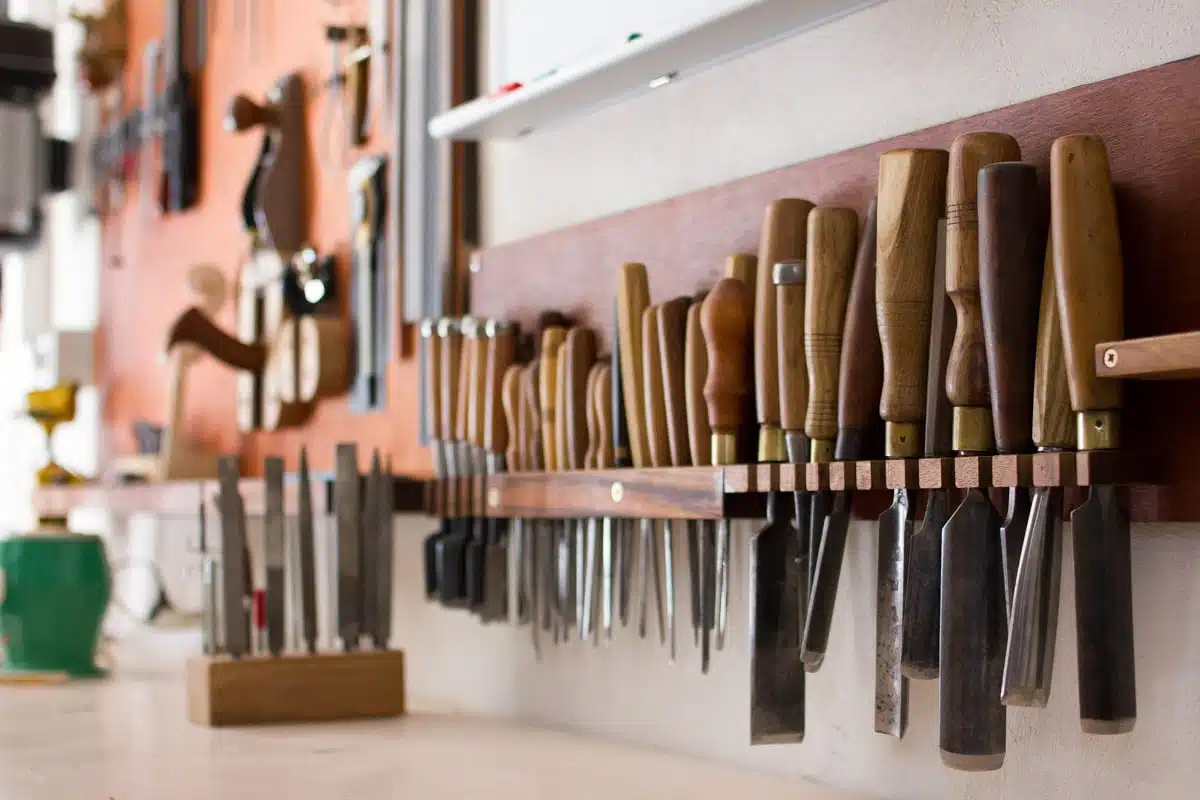
It's easy to make your own little lutherie tools. Some are very simple to make, others require more precision and time. Each tool can be modified and remade, until you make it your own and find the ideal size and layout. Grip, comfort and design are parameters that are specific to each individual.
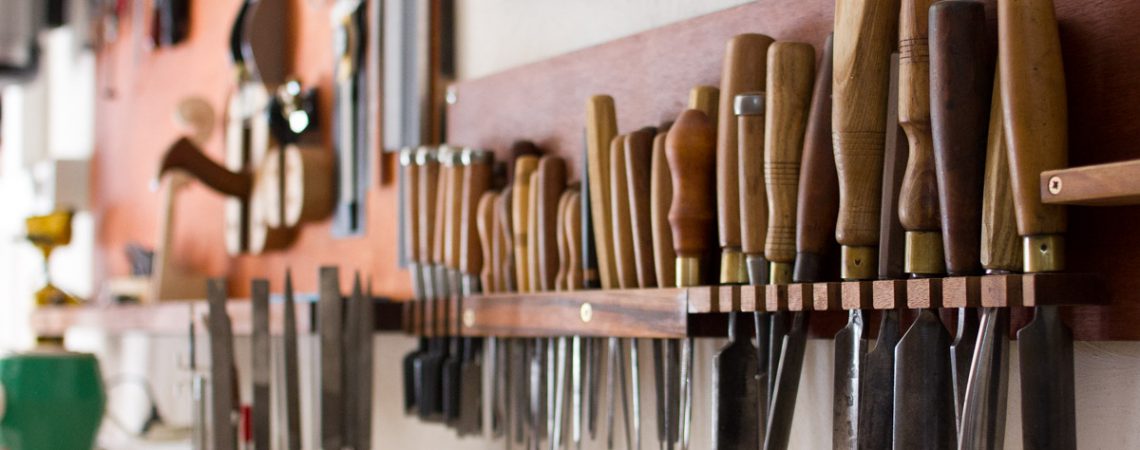
Make your own small lutherie tools
So, on Mr. Kessler's advice, I've made a few lutherie tools that can come in handy on a daily basis. Here are a few examples:
Valance support
Made from a maple block, it holds the bridge in place while you work on it. The side that holds the bridge is formed by a gentle slope and an edge to wedge it in place. On the other side, a small piece of wood or plastic fixed by a removable screw fits into a hole to adapt to the size and shape of each bridge. Several different holes can be drilled, so you can change the location and accommodate both violin and viola bridges.
The whole is chamfered, sanded and sealed with a layer of shellac.

Core location measuring tool
This is a flexible plastic card, cut in half. One part is inserted until it touches the core. The other part, on the table, indicates its position in relation to the bridge. This allows us to make the necessary adjustments and move the core until we reach the right spot. Even if the tool is very simple to make, you need to choose your card carefully. If it's too hard or too soft, it won't sit correctly at the top of the core, as close to the table as possible, and won't give a good indication.

Sanding blocks
Plywood blocks , squared, flat, long enough and about 50mm thick, to which sandpaper is applied with double-sided tape. Each side has a different grit of paper, from the thickest (240) to the finest (1000). These tools can be used, for example, to smooth the surface of the bridge, or to remove file marks on the pegs, by passing each piece of paper one after the other.

Tool for extendingon the bridge
It's a simple pencil cut in two. The flat part is placed on the fingerboard, and the lead is moved back and forth to trace its extension against the bridge. This operation then determines the height of the upper edge of the bridge, which depends on the shape of the fingerboard itself and must be adapted to it.

And above all,
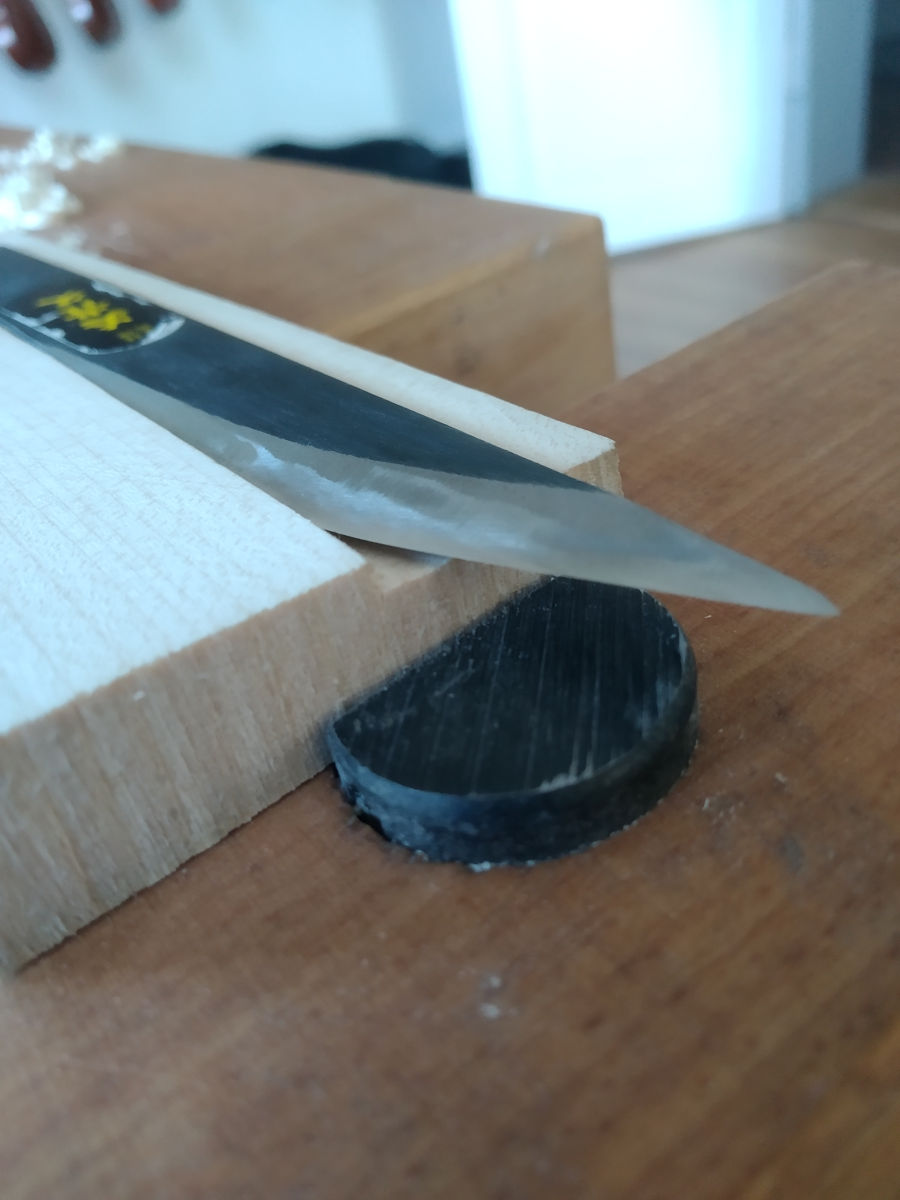
The penknife handle
If you don't make your own gouge or chisel handles, you'll have to design your pocketknife handles from scratch! The blades - in this case, Japanese blades - are delivered to the luthier "raw". They have to be sharpened and given the desired shape, then inserted into a handle. Several techniques are possible, one of which is to make a mortise. Using well-planed, flat off-cuts of wood, you define the width of the blade - the length of the handle can easily exceed that of the blade - as well as its height. The height of the blade is 3mm, so we run the scalpel along the marked lines until we get down to 3mm. This will guide the subsequent creation of the mortise.
Using a fine chisel, we hollow out the inside of the two scalpel lines, shaving the edges first, then levelling off in the middle. Once the blade has passed through, the other piece of wood, which is placed on top to "sandwich" the blade, must be in perfect contact with the first piece, so that nothing moves.
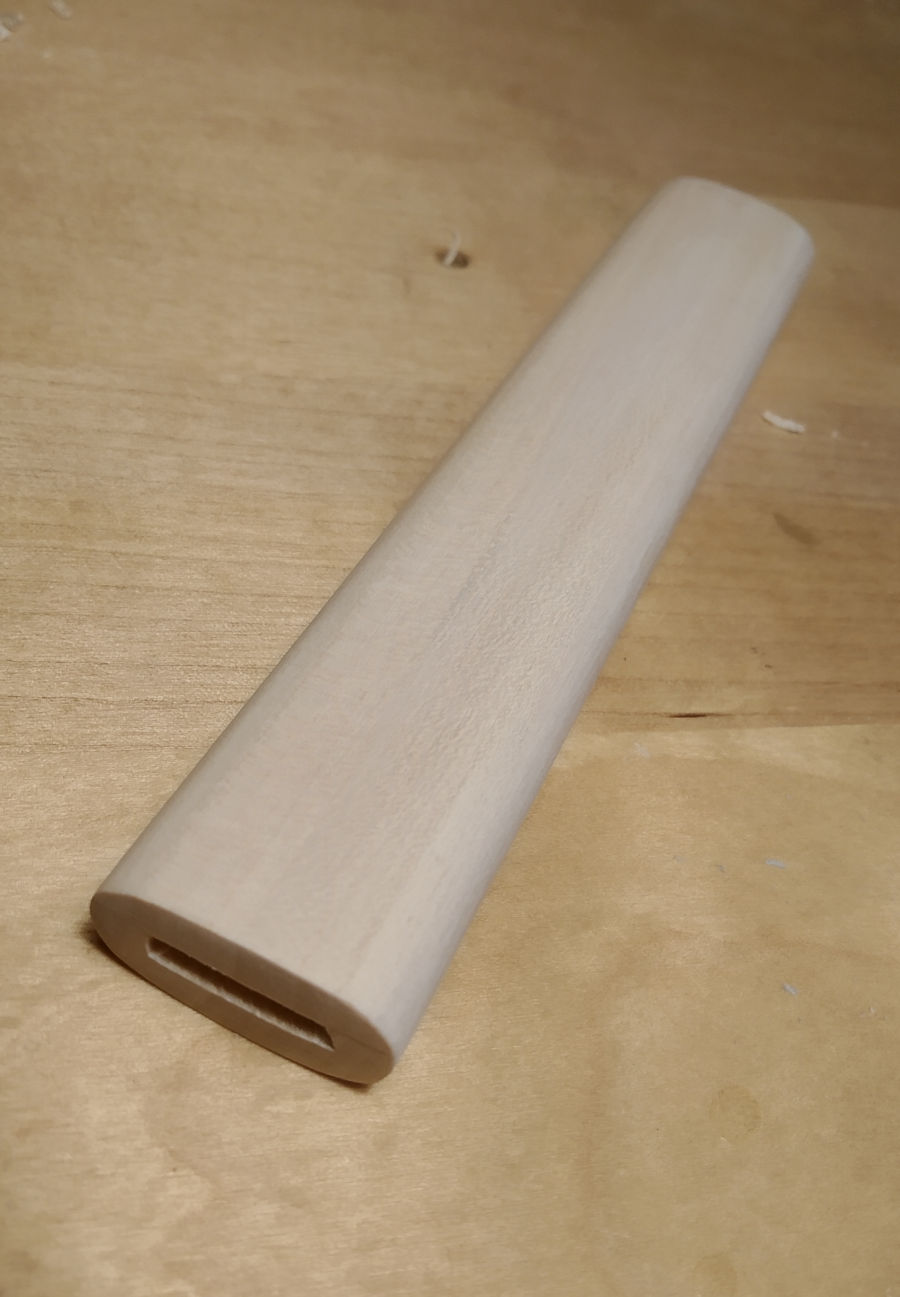
Glue it all together with simple wood glue. Then saw off the excess, plane, rasp and file to the desired shape. You can chamfer the ends, round or not round the edges... The possibilities are endless. Each luthier can vary the shape until he finds the one that suits him best.
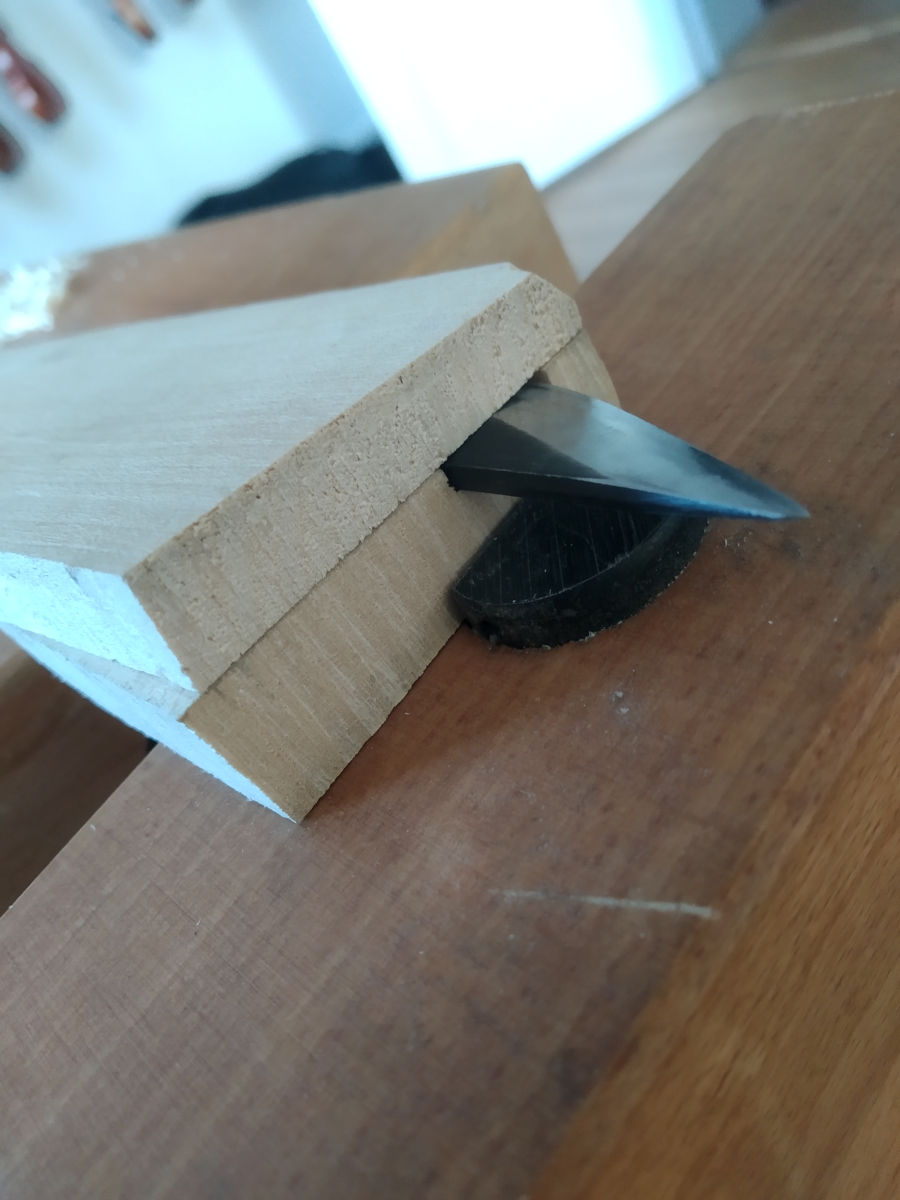
The blade is inserted into the two pieces of wood

Read the article The luthier's penknife for more details
Making your own small lutherie tools - What does it all mean?
These are just a few examples to show that the apprentice's first experiences with wood are not necessarily with musical instruments : making your own lutherie tools is a good way of learning to master certain techniques. Planing the pieces of future penknives, squaring the wedges, polishing the surfaces or chamfering them...The work is not necessarily perfect, but it already forces you to try to be careful, as these are useful tools that can be used for a long time.


Hello ,
Which double-sided tape should I use on a very old (120+ years) varnished soundboard?
Thank you very much